…is done.
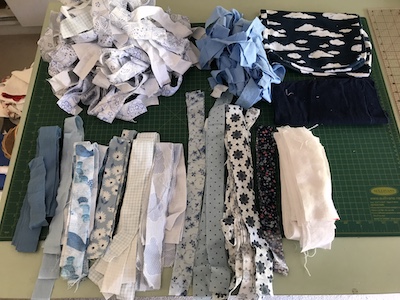
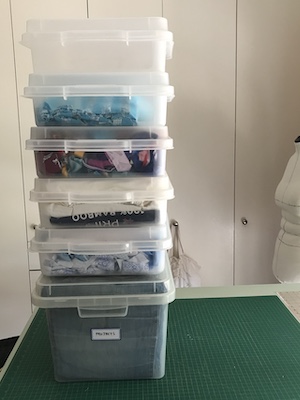
When I started, all these boxes were full of flannelette strips and some uncut fabric:
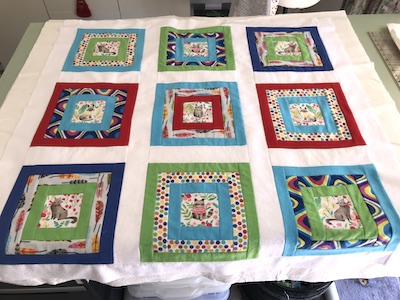
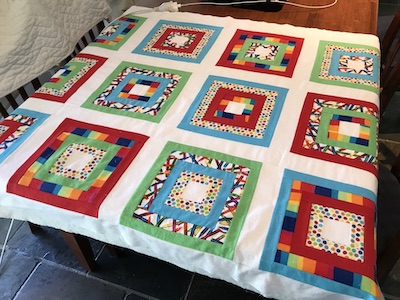
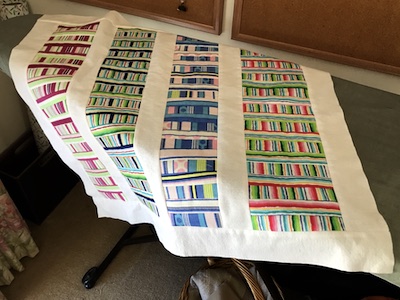
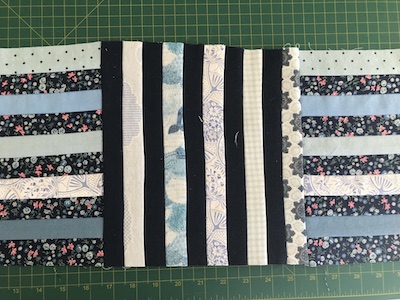
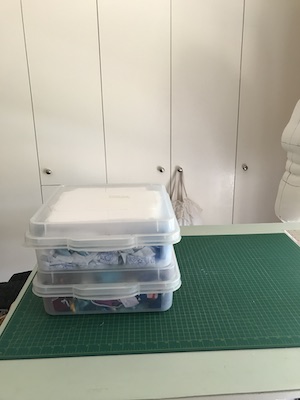
And this is what I have left:
Whatever I do with the leftovers, it’s not going to be quilts. I might make fabric-wrapped rope baskets from it. I might made fabric pompoms. I might use it as stuffing. I might just send it all to fabric recycling.
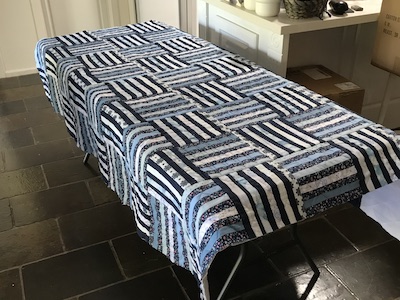
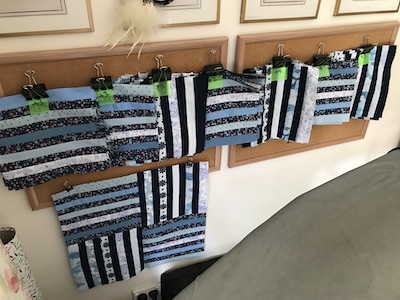
What I do know, is that a bag of scrap fabric can go a loooooong way. That huge bag of flannelette pieces I bought for $100 in early 2020 became five woven floor rugs and nine quilts from knee to double bed size. And that’s after a third of pieces were culled at the beginning because they weren’t the right size and shape to become strips.
I won’t be buying random bags of fabric again!
I also won’t be making flannelette floor rugs again. There’s too much time spent ironing the strips to conceal the raw edges, and I don’t think my body (or even my loom) is up for the pounding of the beater to get a tight rug. That’s fine, because I have three big rugs in my storage chest ready for when the one I’m using wears out, which is probably a lifetime’s supply considering how good the current one looks.
I might make a flannelette quilt again. The fabric does make a cushy quilt. But it wouldn’t be a big one.
I’d like to try making a ‘normal’ cotton fabric quilt one day. But not for some time, I think. I’ve had enough of quilting. It’s time to get back to the sewing I meant to do before all this started.
But wait, I hear you say. What about the topstitching and binding of all those unfinished quilts? Well, I decided I only had to get the flannelette strips made into quilt tops by the end of summer. My plan after that is to tackle finishing one quilt a month, and hopefully have them all done by the end of the year.