With the Blue Quilt and Aqua Quilt leftovers packed away until I figured out what I wanted to do with them, I was free to go back to sewing clothing. So what did I do?
Given some time, I came to the conclusion that while I hadn’t liked the quilt making as much fun as I’d hoped, I did like the result. Having a mental picture of what the finished piece might be like could be the motivation I needed. Perhaps if I kept the projects small and manageable the process would be more pleasant, too.
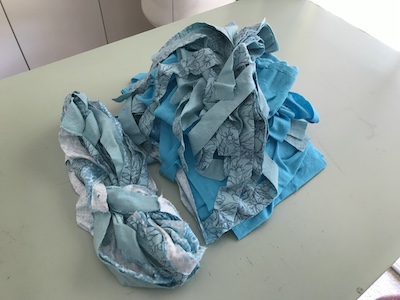
I got to thinking about the other batches of flannelette strips, and started watching videos of sewers making things from fabric “crumbs and threads”. Some of these had potential, and there was one particular batch of strips cut from a rainbow fabric that might make something the daughter of a friend would like. I dragged out the box and laid out the strips according to fabric.

The rainbow fabric had been cut both lengthwise and widthwise. Another fabric of cat faces went well with it. This would make a bigger piece – maybe a couch blanket.
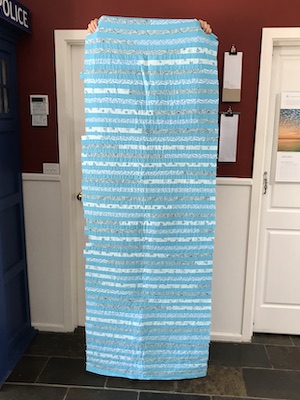
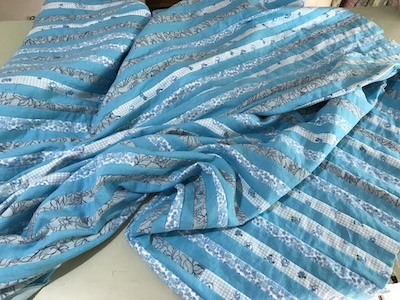
There were two batches of colourful wiggly stripes on a white background that didn’t go well with the rainbow – but I had uncut pieces of the same fabric to work with. If I added fabric to it, the smaller batch was about the right size for a small lap rug for protecting my clothing when the cat sits in my lap of an evening – what I call a “cat quilt”. The larger batch of wiggly stripes would be something bigger but I wasn’t sure what yet.
The rest of the strips went in the box of leftovers from other projects.
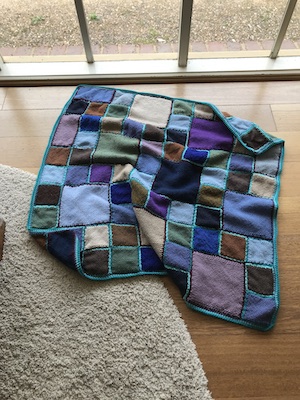
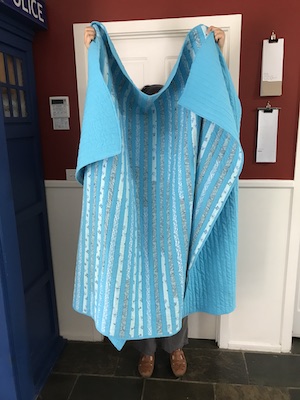
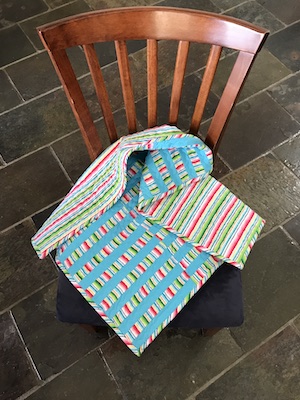
I decided to work on the cat quilt first, and to test some of the things I’d learned in the videos, and some methods I hadn’t yet worked out how to do on my machine, like using a walking foot and some decorative stitches I could select. For the additional fabric I chose to use up some of the backing fabric trimmings of the Aqua Quilt. Instead of sewing strips end to end, I matched them up by length and sewed them together lengthwise. Then I worked out what length to cut everything to use up the most fabric. I made three long columns of strips, then sewed those together.
The part where I learned the most was during the quilting. Firstly, I worked out how to select the serpentine stitch on my machine.
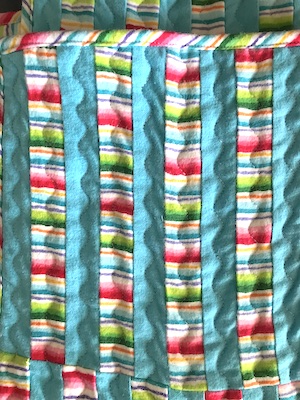
I noticed that the curves might start going in the same direction, but they ended differently. So to prevent one side always being the same, I turned the work around every four or five rows. What I should have done was sew every other row then turn it around and sew the rest, because the drag of the machine foot from different directions made the seam of the three columns distort into a wave. I used the normal foot, so I decided I’d try the walking foot next time.
Fortunately, I like the wavy seam. It kinda goes with the topstitching. I used the rest of the wiggly stripe fabric for the backing and bias binding. Once finished, I was still keen to keep making quilts, and got stuck into the one using the other striped fabric.