Broken umbrellas. It’s nearly always the frame that goes first, and for those of us with recycling tendencies the fabric is just begging to be used for something else. People have used them to make clothing, the most obvious being a skirt. I’m not all that keen on wearing shiny plastic, and though making a raincoat sounds like a natural transition it wouldn’t be very breathable, though this dog coat is adorable. Others have made bags out of them, which is a great idea but I don’t need more bags. This person makes beanbags out of them which is pretty cool, though I’m long past being able to sit in beanbags.
No, I decided make something I’ve been finding it harder and harder to find: a shower cap large enough to fit my head. Honestly, I swear the ones you buy in stores have been getting smaller and smaller, and the longer my hair gets the harder it is to fit them over my head and the little bun I tie my hair into.
For a while now I’ve had fabric from a plain black umbrella waiting for me to get around to making a shower cap out of, but recently I discovered that the umbrella I bought at the British Library, which changes colour when wet, was broken.
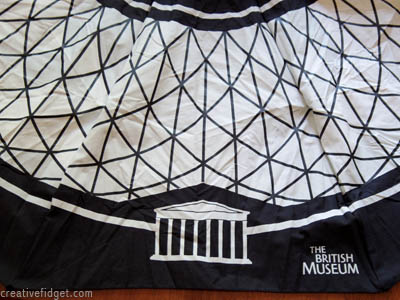
I’m going to pause here for a short gripe. This umbrella was expensive. It came, as they often do, in a little cover. The label’s care instructions specify you must keep it in the cover, but the fabric is thicker than the usual umbrella fabric, due to the special paint that changes colour, and getting it to squish back down enough to get the sleeve on is a real struggle. It was my efforts to do so that broke the frame.
Since I’d only got to use this umbrella a few times, I was determined to make something out of it. And I love the idea of having a shower cap that changes colour, too.
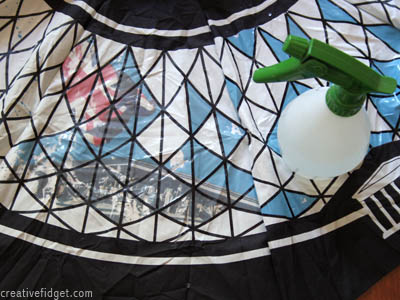
But this method could be used for most umbrella fabric.
So, this is what I did:
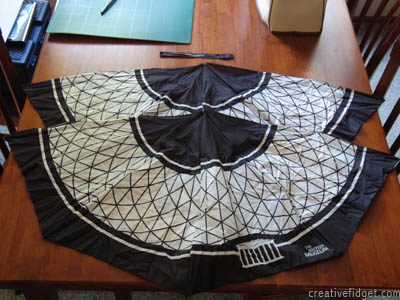
The umbrella was a medium to large size so there was plenty of fabric. I wanted to make use of the patterned part. After removing it from the frame and taking off the tie that holds the umbrella closed, I unpicked two opposite seams so I wound up with two halves:
I took one half, turned it inside out and sewed it together up the side:
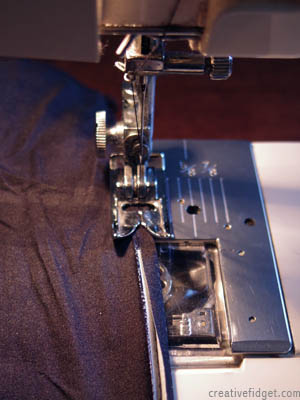
I copied the seaming method, which involved folding it over before sewing. I’m guessing this make it extra strong and waterproof.
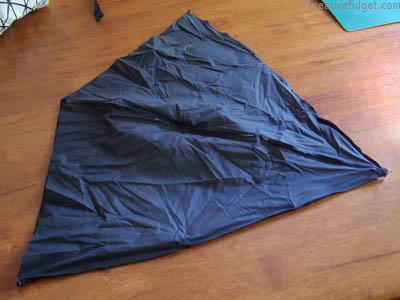
Above the top of the pattern, I sewed in halfway to the centre on both sides:
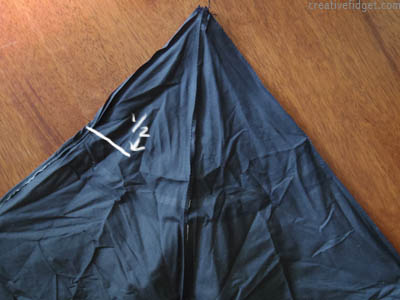
Then I refolded it in half with those two seams were pressed against each other and sewed in again from the outside to halfway, where the first seams met:
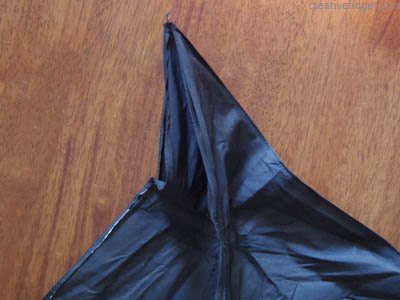
Then I trimmed off the excess fabric at the point:
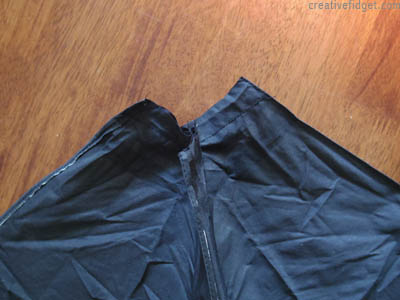
Right side out, the top now looks like this:
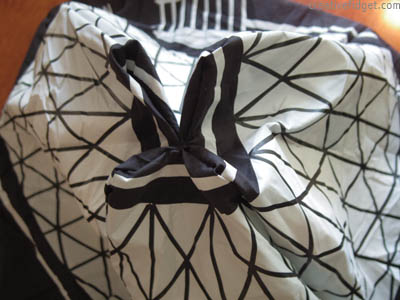
Next I folded the outside edge of the fabric wrong sides together and sewed a channel for the elastic, leaving a gap to thread it through:

Partway around I reattached the tie, with the velcro bits removed, to use as a loop to hang the shower cap up by:
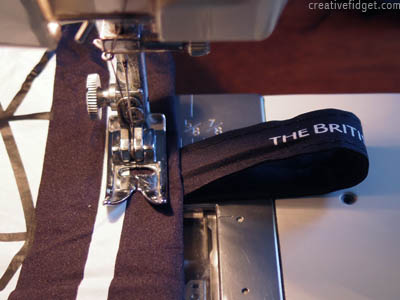
I measured some elastic by wrapping it around my head then shortening it a little so it gripped well. Then I fed it into the channel:
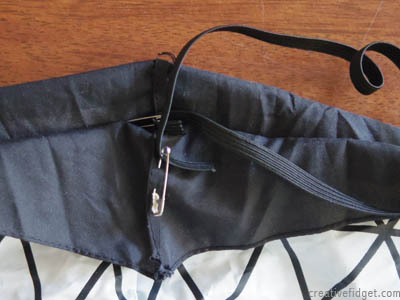
Tied it in a knot. You may want to sew the ends together so it sits flat. But the join will sit in the channel, not against your head, so it won’t be uncomfortable.
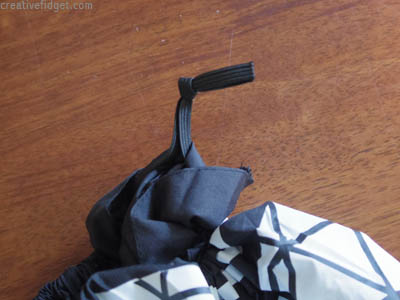
Done:
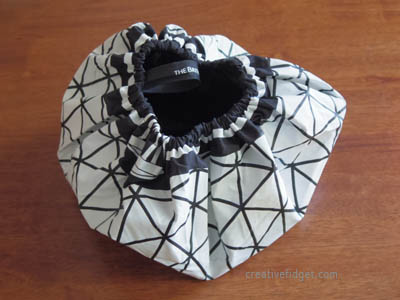
And yes, it fits:

I even tested it for you:
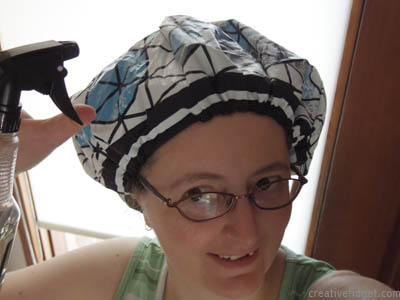
Look! The colours change:
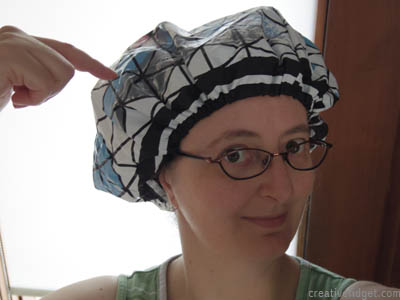
Coolest shower cap ever.

Great job! And for sure – coolest shower hat ever.