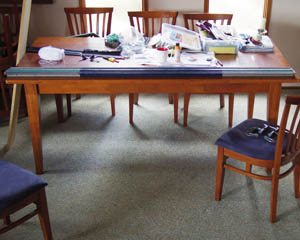
Two weeks ago, in one of those neat co-incidences of timing, a Raveller in Melbourne posted that she was giving away an old Bond. She’d taken most of the needles out of to fix another machine, but there was a complete extender kit and I’m always keen to add length to mine. So I put my hand up for it. After a trip into town to pick it up, I was the happy owner of this:
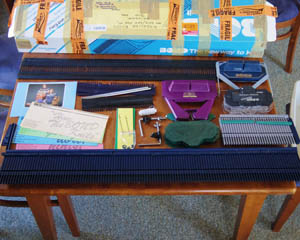
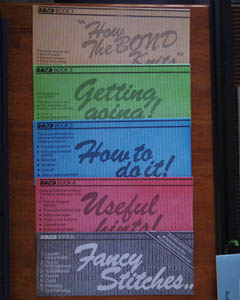
It was intresting to see the subtle changes that had occurred over the years. The cast on hems were sturdier. These had breaks in them, but could be cut down to make smaller ones if I ever needed to. There was an old as well as new carriage – having two carriages would make working stripes in two colours much faster as I could work from each side and not have to change the yarn all the time. The books were very clear, and actually instructed you to pull the elastic out, not snip it. (Which might explain why the hems had breaks in them. I suspect they were never well suited to this treatment).
The needle beds were made from little sections bolted together just as with the newer model, but on this one the whole length was held together with one rod. This made it sturdier than my machine, which divides in two so it can fit into an easily carried box, and each extender kit is attached with a single bolt so that the whole middle section is a bit wobbly – which is why I eventually screwed the whole lot down onto a length of particle board.
Discovering this, I was tempted to clean up the old bed and move all the needles from my Bond into it, but the other big reason I’d attached my Bond to a board was that the clamps that came with it didn’t work. When I tightened them they pulled the machine down and forward, so something was at a wrong angle somewhere.
So I tried the old clamps and hey presto! They worked just fine. I compared them later, and the old one has a smaller angle than 90 degrees. That must make all the difference.
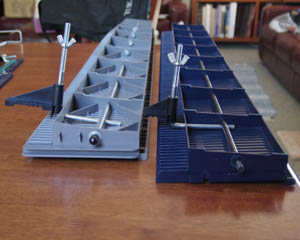
Eliminating the wobbliness and having clamps that worked was a significant improvement. I wouldn’t have a heavy board attached to my machine so I’d regain some of the portability. I could use this old section as the middle section, then attach the two halves of the newer Bond pieces to the sides, adding all the needles from my extender kits and the one I’d adopted the old Bond for. Which makes 186 needles in total!
Lots of cleaning and moving of needles later I hit my first challenge: the rod of the old Bond protruded out one side, making it impossible to attach extension pieces. Yet this machine had come with an extender kit, which must have attached somehow. A close inspection revealed that the rod had been cut off at one end and pushed to one side to free up the hole, which aligns with the bolt hole of the extender piece. I’d have to do the same with the other side.
But to keep the join as sturdy as possible, I got Paul to cut the rod just short enough that it still fits within the hole. Then I drilled new holes for the bolts that attached the new Bond halves.
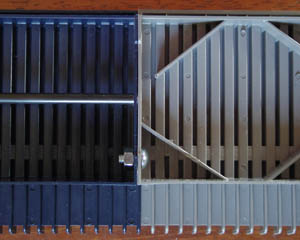
But when it came to locking the needles into the old bed, I found a flaw in the old design. The cavity for the sponge bar in the old bed doesn’t run the entire length of each piece as in the new bed. Little dividers at the edges mean the sponge bar has to be cut into sections. This means that the ends of each sponge bar move when needles slide against it – and the result is the end needles slide more freely than the middle ones. I’m considering how I might fix this. I figure the sponge bar (or whatever I use in it’s place) needs to be attached to something thin and rigid. A strip of card or plastic, perhaps.
Other than that, the operation was a success. And so I can now introduce you to… THE MEGABOND!
