As always, working with the Bond leads to me making ‘improvements’. This time it was new cast on hems:
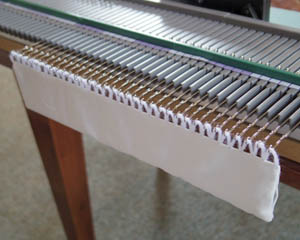
A year ago, when I last set up the Bond, I found a YouTube tutorial on making cast on hems that could be removed quickly and easily. The plastic hem that comes with the machine is inflexible and fragile, and has to be attached with a strip of elastic, which must be cut off later. Snipping the elastic is time consuming and there’s the danger you’ll snip the yarn by mistake. One way around this is to add a few rows of waste yarn then a row of smooth, thin cotton ‘ravel cord’ that can be pulled out sideways. But why double up on the work, when you can have a hem that you can attach with ravel cord straight away? And make them any size you want.
I made a few of these knitted hems and blogged about it. Here’s the plastic hem and the home-made one:
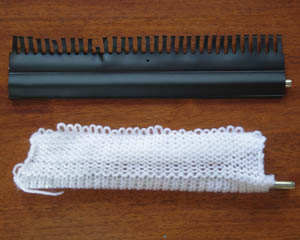
But these hems had a few problems of their own – mainly that the rod weights kept working their way through the stitches at the ends and falling out. It seemed to me that a fabric pouch would work better. They’d still need some loops to hang the hem onto the machine with, but I figured I could just stitch them on.
So I gathered together some leftover curtain backing, thread and acrylic yarn:
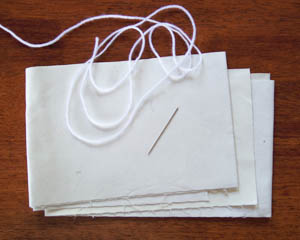
I cut the fabric to the length of a rod weight with a seam allowance and enough depth to fold in half lengthways and hold two rods:
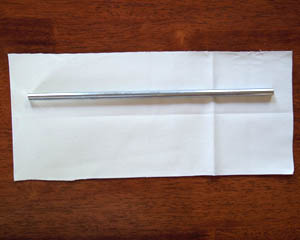
I folded it and placed it on the machine to mark where the loops would go:
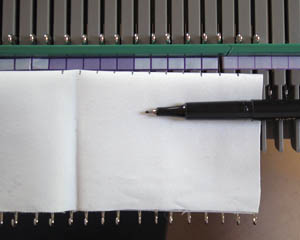
Then I created loops with the acrylic yarn, using a rod as a guide to keep the stitches the same size. I used backstitch and sewed through the previous stitch in the hope this would stop the stitches pulling if they caught on something:
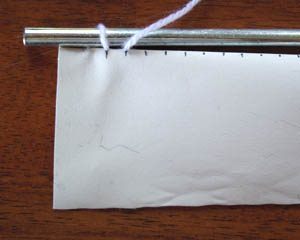
Then I turned it inside out and sewed the seams, leaving a gap at the top of one side end to insert the rod weights:
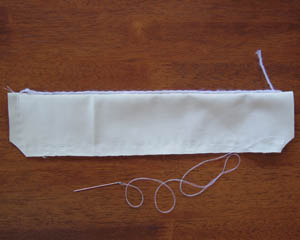
Turned it right side out. Inserted rods…
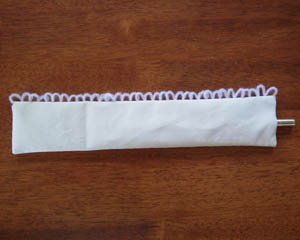
… and tried it out. Hanging it on the machine was a simple matter of lining up the loops. Very easy:
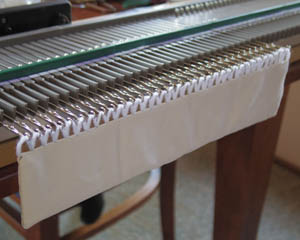
All I had to do then was knit a row of ravel cord then begin my project. Easy peasy. And removing it was just a matter of pulling the ravel cord out.
I was so pleased with it I immediately made a longer one. They are more time-consuming to make than the knitted ones, but the time saving is more than made up for when using them for a project.
Now I’m eyeing at my substitutes for claw weights…
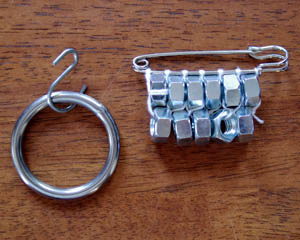
… and wondering if I can improve them by using this fabric pocket idea.

new twist on claw weights, use painter scrapers or putty knives with picture hangers evenly spaced on the large end of the scrappers. I made 2 3″ and 2 1″ ones for $6.00 bought every thing atr dollar tree. They work great.
Great idea! Thank you.