Another of my Projects for 2010 is done:
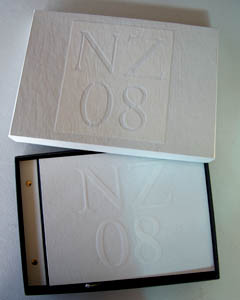
My plan was this: set out the photos from our holiday in New Zealand onto large sheets of photo paper, get them printed, then compile them in a side bound book. That was back in 2008.
The first hitch was choosing the photos and figuring out how to arrange them on the page. So many of our pics wanted to be on pages on their own. Eventually I changed the format to suit that: with several single page pics and then a few pages containing several snapshot style pics at the end.
The bookbinding books I bought or was given gave me ideas for the cover. My favourite was one where you cut out shapes and glue them onto the cover before applying bookcloth, creating a kind of embossed effect. I tried this and it worked really well.
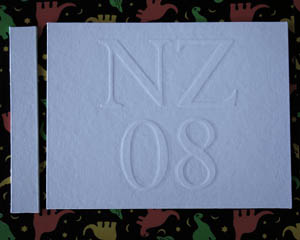
Except that I forgot that I was supposed to cover both the ‘hinge’ bit of the cover and the main piece together, and covered them separately.
I considered some creative ways of connecting the two pieces, but the front piece had also warped as it dried so I decided to start again. This meant going back into the city to buy more book cloth. The guy at the store suggested I get two pieces of thinner card and glue them together at 90 degrees to each other, to prevent the warping. So I did this, then patiently cut out the letters for the cover again and remembering to include the hinge bit as I covered the front in book cloth…

Except that I put the hinge on the wrong side.
At this point I was fed up with the whole thing. I decided I couldn’t face cutting the letters out again, and cut up the card for the back cover in order to make a third, plain front cover. This worked perfectly…
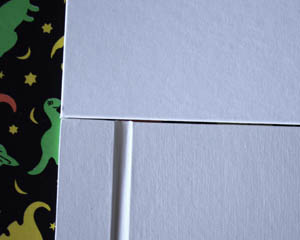
Except that the second batch of book cloth turned out to be a slightly different colour and a courser texture to the first, and it was only obvious when you put them next to each other, which is what happens when you put the original back cover with the new front cover.
At this point I was really fed up with this project. I didn’t want to make another trip to the city to buy more bookcloth – and I couldn’t order more by mail because I had to be sure I got the matching cloth. So I returned to my original two pieces of cover. A bit of bending by hand had reduced the warp in the front cover, so I just needed to join it to the hinge piece. First I tried sticking a piece of tracing paper onto the backs with double-sided tape, but the front kept falling off when I opened the cover. So I turned to that solution of last resort: fabric tape. In black. A wide piece down the back, and a thin strip to fill the gap on the front:
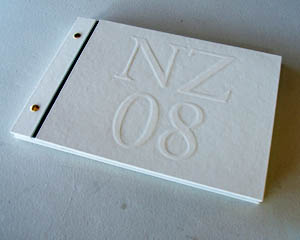
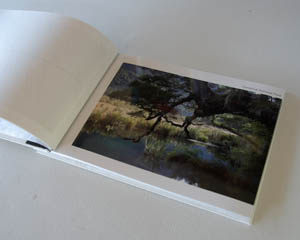
A bit of drilling later, some post screws to hold it all together, and the book was done. But then I remembered something else: I’d always intended to keep it in a box, with the usual brochures and guides you pick up on holidays stored at the bottom. I already had a box. In fact, I had designed the album to fit in the box. But did I have enough book cloth? Er. No.
But then I had a flash of inspiration.

Since the fabric tape had added a bit of black, why not cover the bottom section of the box with it? And (sneakily) the underside of the top?
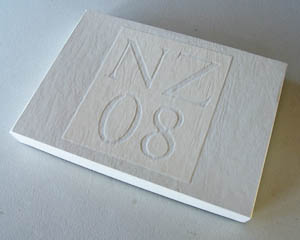
I also used the pieces of card left from cutting out the cover type to create the reversed embossed effect on the box. However, the second batch of book cloth was much more temperamental than the first. It expands when moistened with glue, so I got a rippled effect that didn’t completely diminish with drying.
But despite all this, when Paul saw the album, he said ‘you know, this is really good!’, and he isn’t one to, unprompted, come out with such praise. So, though I can see the flaws, I’m pretty satisfied with how it turned out in the end.

I think it looks great!