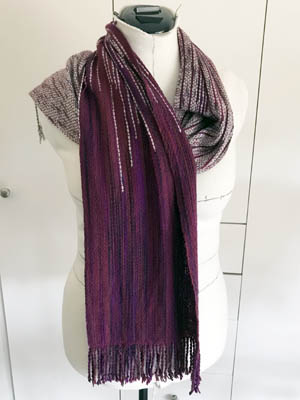
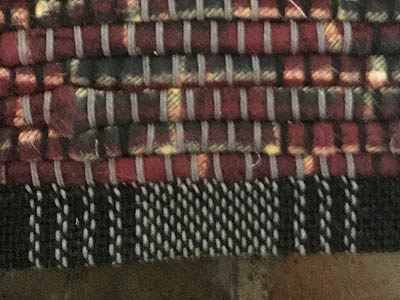
While weaving the chenille scarves, I got to thinking more about using up more old or unusual yarns in my stash. When I had searched for something to use up the white warp I had tried weaving some slubby white cotton, but decided an all white scarf didn’t appeal. Could I use up that yarn next? I wasn’t feeling energetic enough to dye the cotton, but what if I wove it with a coloured warp?
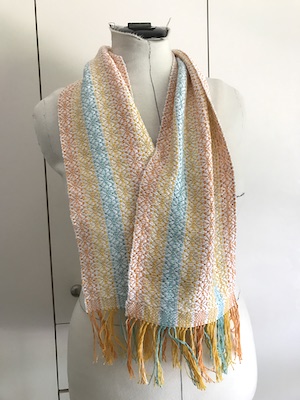
Looking at my collection of 8/2 cotton, I chose three that were around the same value. The combo looked very Spring to me. I also had two balls of slightly thicker slubby cotton in a teal, so I wound enough warp for two scarves.
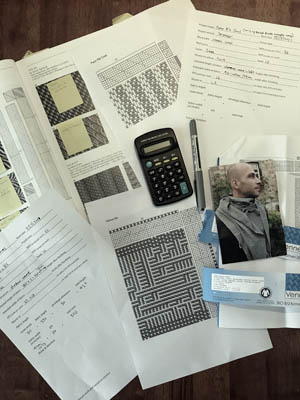
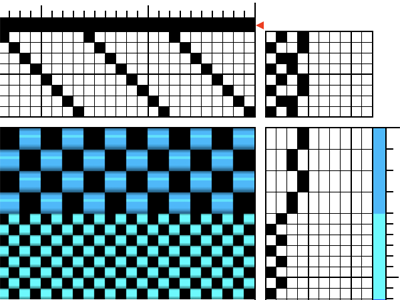
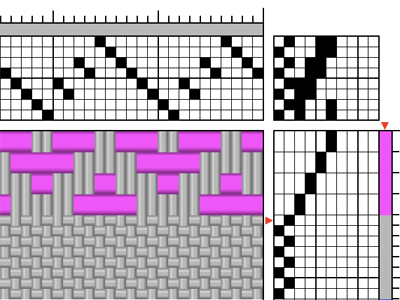
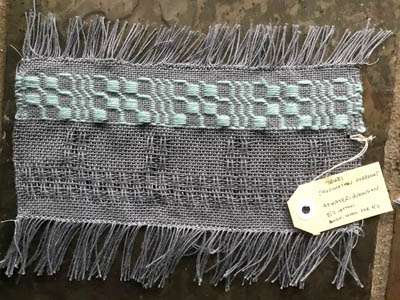
I chose a draft in Strickler (#102) that produced flower shapes, reproduced it in Fibreworks ao I could play with colour placement, and altered it to eliminate a long float.
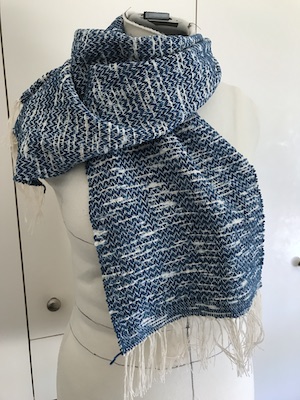
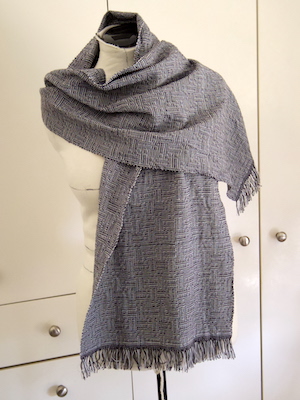
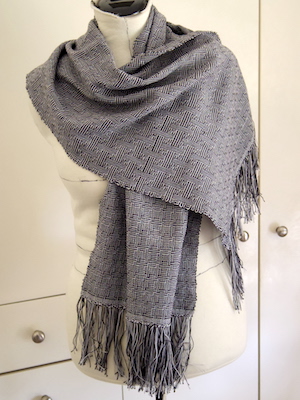
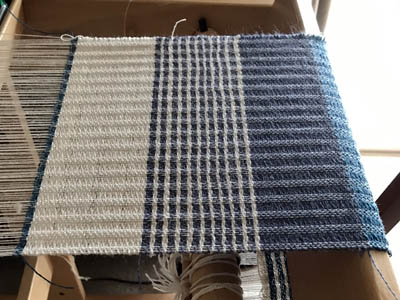
The white wove up really well:
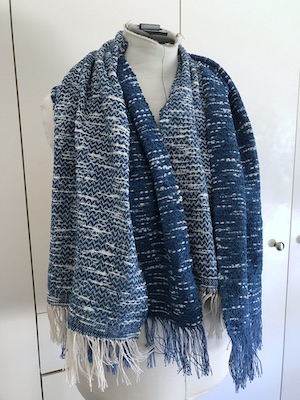
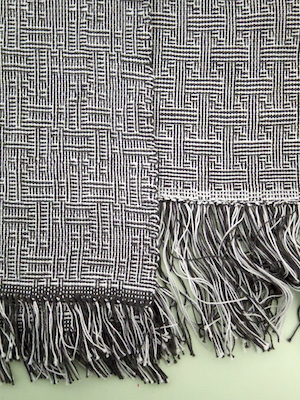
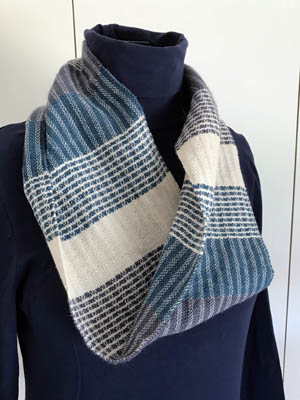
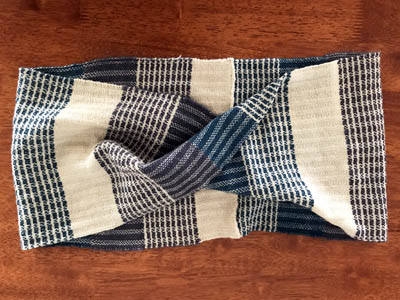
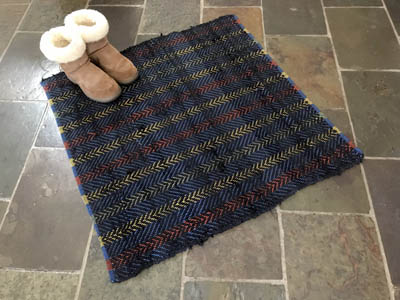
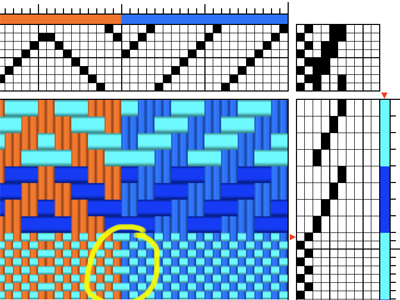
The teal is okay. You have to look closely to see the flowers. But it is cushy and soft.

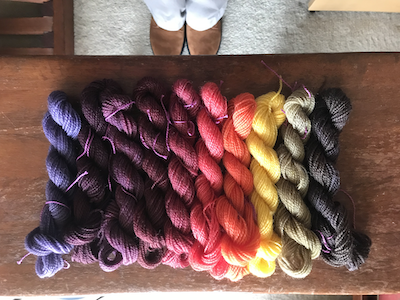
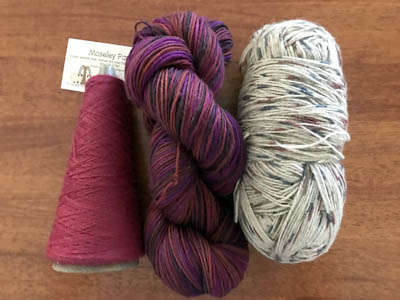
I have enough slubby cotton in another brand to weave several more scarves, but after joining the Guild’s weaving group Zoom meeting on weaving with handspun, I was inspired to do that instead. The two balls I picked are also some of the ‘oldest’ yarns in my stash, and the warp yarn was probably a few years old when I picked it up at a destash.
None of these old yarns are particularly ancient, mind. They’re just the oldest in my stash. But I wouldn’t want them to end up so ancient that whatever I made out of them wouldn’t last long, which is a good motivation to weave yarns I’ve been intimidated by or not sure what to do with.