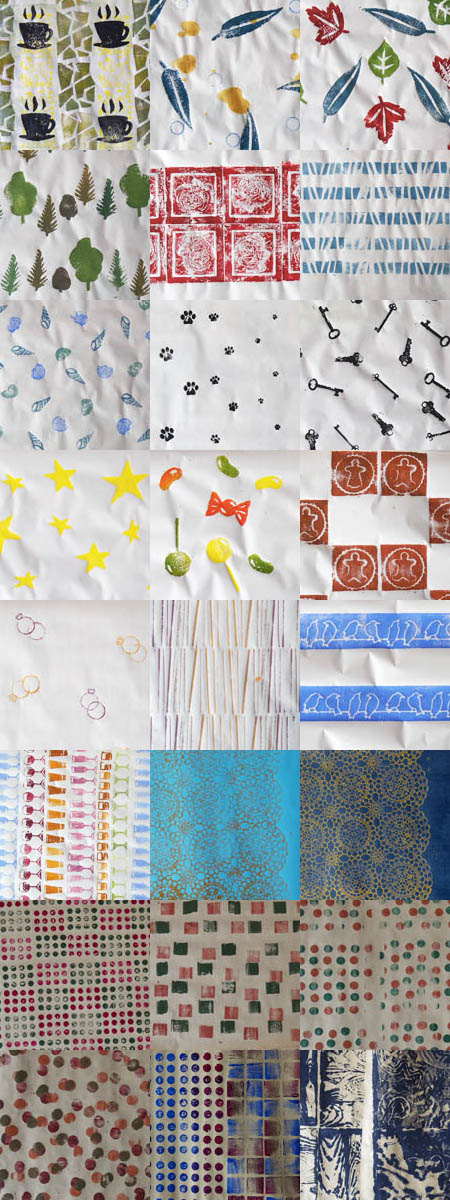
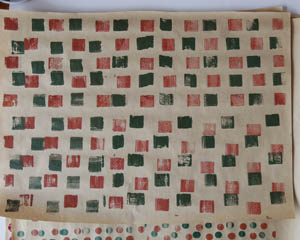
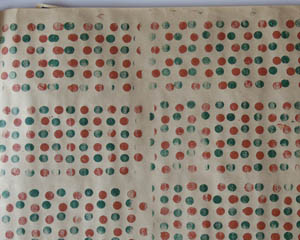
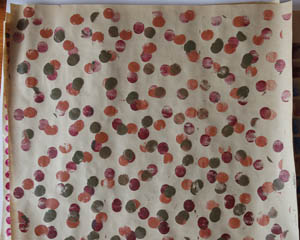
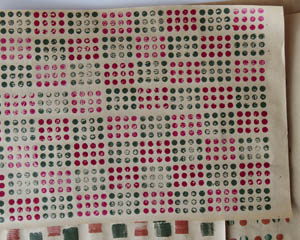
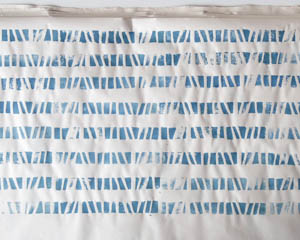
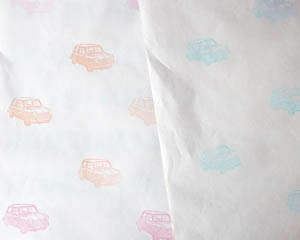
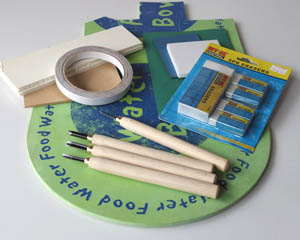
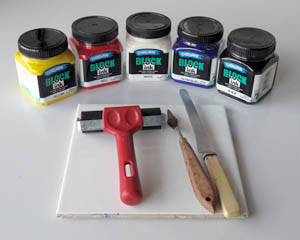
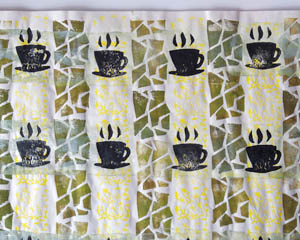
Once again, I started with a sheet of wrapping paper from the original batch that was a bit of a dud, and overprinted with a coffee cup stamp I’d made back then, but never used:
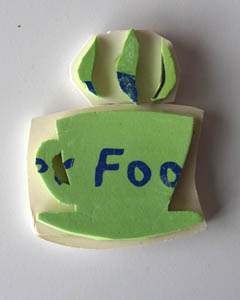
Don’t ask me how, but the addition of black cups was all it took to fixed the dudness. I guess that as a pattern it was pretty boring, but as a background it worked better.
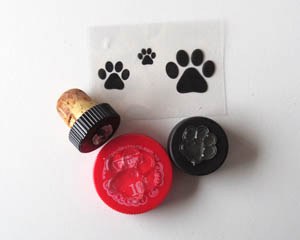
Since I had black ink on the tile, I tried the paw print stamps next:
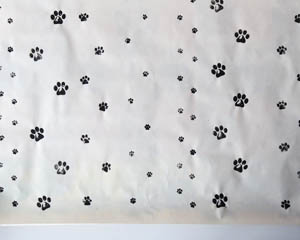
I learned at this point that the silicone stamps only stick to a smooth, glossy surface, reinforcing my suction cup theory. One of them kept falling off the lid, and when I had a closer look the only difference I could see was the slightly matt surface. Also, the silicone surface of the stamps tended to repel the ink a little, so I’m wondering if these work better with ink pads.
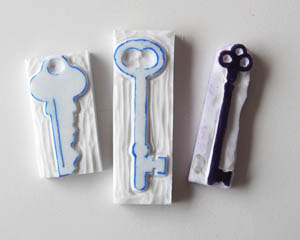
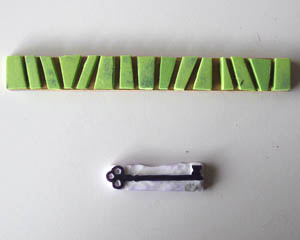
I tried the keys:
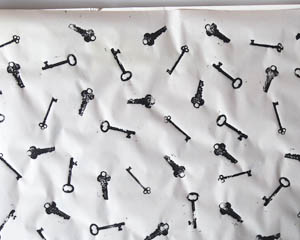
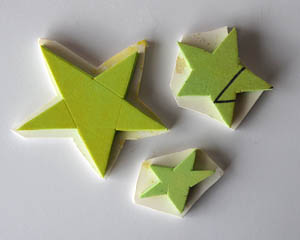
They worked just fine. Time for some colour. I used these old star stamps next:
To make more of the star paper from the original batch, that was so versatile:

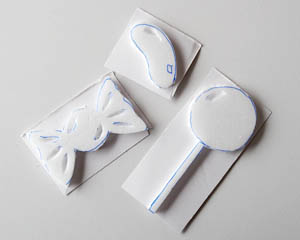
Then I mixed in some red and blue to the edges of the yellow for the lolly stamps:
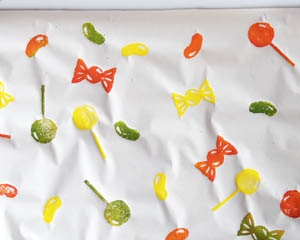
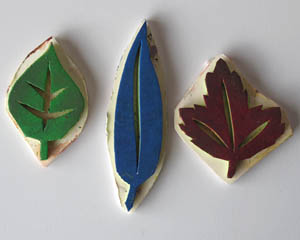
So… yes, foam core can be used for stamps, but I wouldn’t recommend it. The backing quickly fell off on the first use, they felt fragile and awkward. I like the shapes so I’m going to make these again with foam.
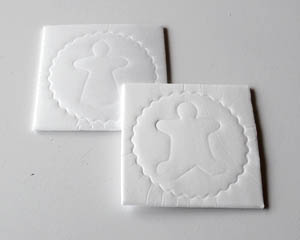
And then I mixed the colours together and added more to make a gingerbread colour for the meat tray stamps:
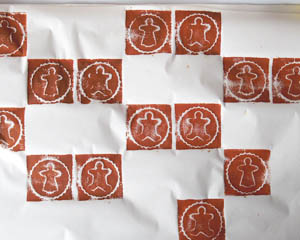
I really didn’t expect them to work, but they did. Surprisingly well. I’ll definitely be recycling any meat trays that come our way in the future.
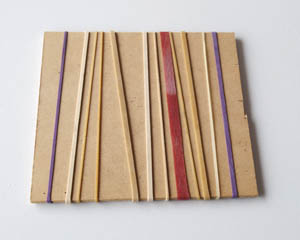
After that I washed off the tile and mixed some new ink to use with the elastic band stamp, blending them to make a graduated colour scheme:
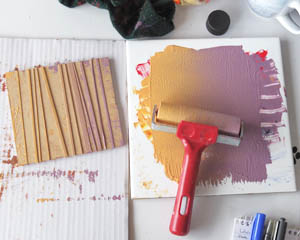
Again, the result was another pleasant surprise – a non-dud-ish pattern:
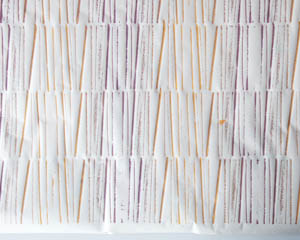
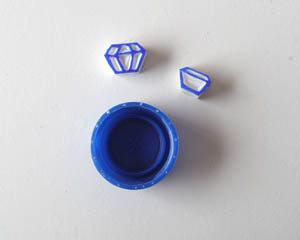
I then used up more of the colour with my bottle top wedding ring and diamond stamps:
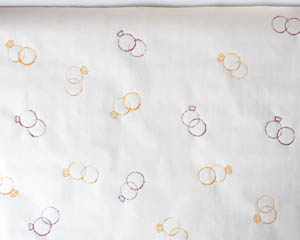
Gave that one a big tick. At this point only a few sheets of paper were left but I had only a couple more stamps to try. I didn’t expect the next stamp to work that well:
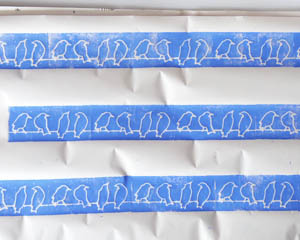
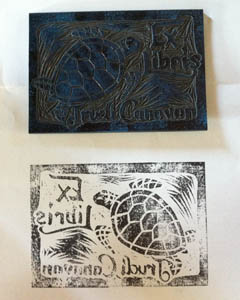
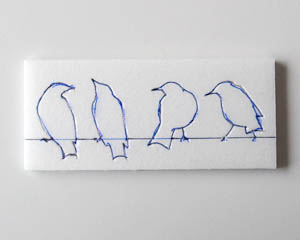
Turns out that while foam core isn’t great to cut into shapes, drawing into it works quite well.
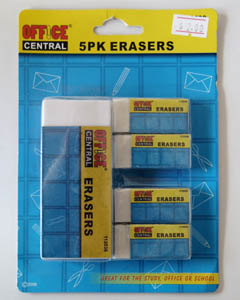
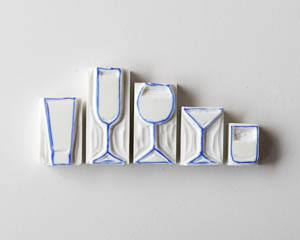
That left the cups and glasses stamps. For the final sheet I added some red to the leftover blue ink to get a bugundy colour for the wine glasses, then white to half of that for pink sparkling, then yellow to the other half for beer and whisky, then… you get the picture, until I had the whole sheet covered. An old eraser from the end of a pencil gave me lime wedges, and the last sheet was done:
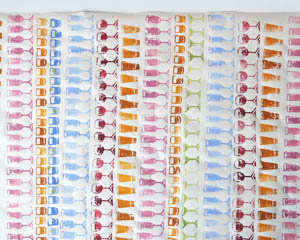
It was the most time-consuming of the wrapping paper sheets, but looks great.
Normally I try to print two sheets of each design, because one sheet never seems to be enough. The only double in this batch was the stars, because I had so many stamps to try. In the last batch I did have a few single sheets where I was using up excess ink or it was a mixed colour and I didn’t have enough for two sheets. I could mix up more colour, but the time it takes to match the colour isn’t worth it for an extra sheet.
I’m all out of crappy newsprint now. I could buy more, but I have a great stack of multi-purpose paper I can use and various other batches of paper I’ve saved over the years – like some newsprint-like paper that came with some ikea furniture, and some brown packing paper. On Monday I popped down to Zart Art and, along with more carving blocks, and some fabric dye, bought an assortment of A2 size coloured paper. It’s a bit thick for wrapping paper, but I could make gift bags out of it – always good for people like us who tend to forget to buy a present until the last moment… or on the way to the event.
I’d like to try using the stamps to make cards, too. One thing I have more than enough of is sheets of cheap coloured A4 paper.

