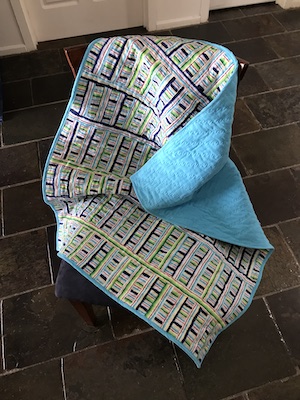
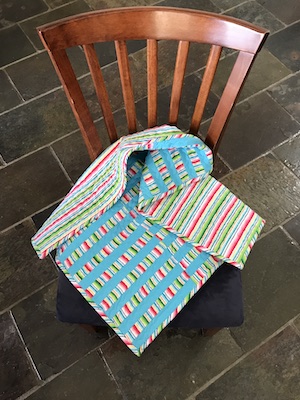
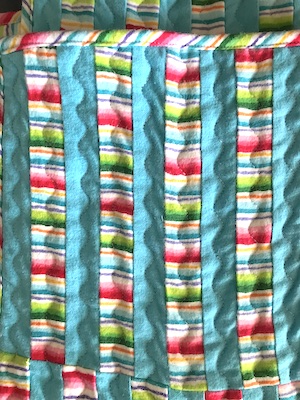
By the time I’d finished the Rainbow Cat Quilt top I had enough confidence to return to the Blue Quilt. With fresh eyes I could see that my approach to joining the blocks was overly complicated. I just needed to sew them into rows then sew the rows together.
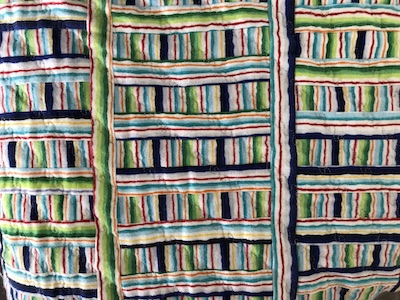
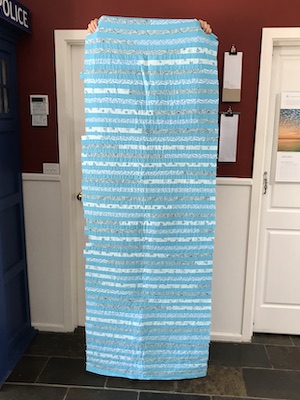
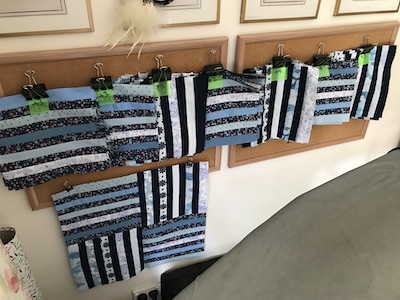
But part of the overwhelm had been not knowing if I had enough strips to make enough blocks. So I decided to work that out. The way I designed it, each row or column of navy or dark floral striped-based blocks has the same sequence of strips. I was going to have a different sequence for each row and column, but decided to keep it simple and have just six varieties. After counting the already completed blocks, I clipped them together in batches of the same stripe sequence and hung them on some pinboards, with a note of how many more needed to be made.
I didn’t have enough strips of some fabrics to do a queen-sized quilt of 10 x 9 blocks, or 9 x 8 blocks. It had to come down to an 8 x 7 block quilt. By then I’d watched videos on adding sashing, so I knew I could do that to make a queen sized quilt.
So every day or two I chose some of the batches and sewed up the remaining blocks needed for each. They seemed to sew up really fast. I had them done by the end of that week, just in time for an impromptu sewing day at my place.
At the start of that day, Paul set up two folding tables next to each other and I laid out the blocks in order. I found that some needed tweaking and I’d completely missed one row of flowery blocks, but with an afternoon of sewing ahead it wouldn’t be long before I was ready to start joining blocks into rows. The guests arrived. We set up. We chatted and made a start. I got the extra blocks made.
And then the power went off.
Fortunately, trimming the blocks kept me busy for the next few hours. When the power came back on, just after my guest left, I started joining blocks and the next day all were sewn into rows.
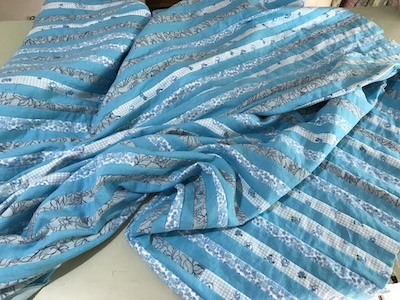
I didn’t get back to it until the following weekend, when I looked at the rows of blocks and realised they were really wonky. Looking closer, I realised that I’d cut them half an inch narrower than I was supposed to, thanks to the confusing markings on the square ruler I had.
This was going to take some fixing.