Papery

Without really thinking much about it, when I started tinkering with making jewellery again a few weeks back I set myself a challenge to finish or abandon most of the pieces I’d left incomplete last time I had a bout of diy-jewellery-itis along with refashioning and exploring new ideas.

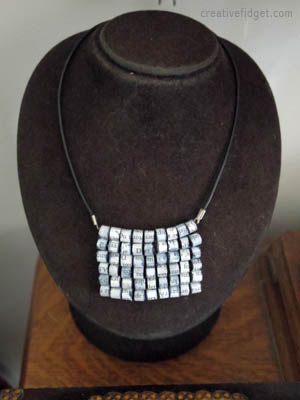
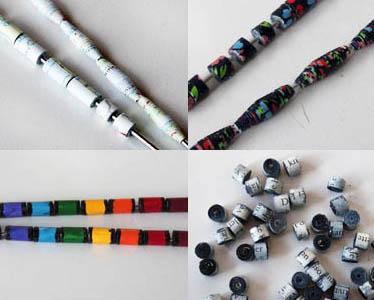
I had these paper beads made from the pages of a book. I tried stringing them, knotting the string between each bead, but the result left me feeling ho-hum. As I cut the threads I lined the freed beads up in a row, and that’s when inspiration struck.

creativefidget589

I used a beading technique from The New Beader’s Companion called ‘square stitch’. The result has drape, and a pleasing nubbly texture.

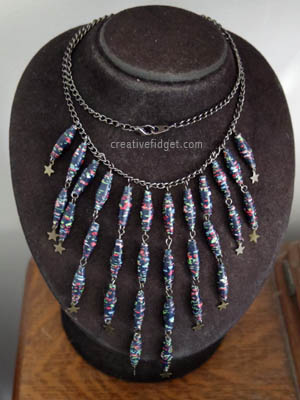
The other batch of paper beads I’d made were from Japanese paper. I tried joining them in a hexagon pattern to make a triangle, bib-style necklace, but they wouldn’t sit flat. So, once again, I separated them. I started playing with them on my beading mat. They put me in mind of beaded curtains, so I lined them up in a triangle that way instead, and I liked the effect.

creativefidget591

(Necklace stand bought from Waverley Antiques Bazaar. It’s a bit small, but works okay for my shorter necklaces.)

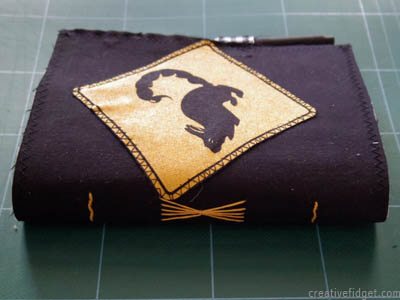
Squirrel Scorpion Book

This is another of the projects I finished during the first heatwave.

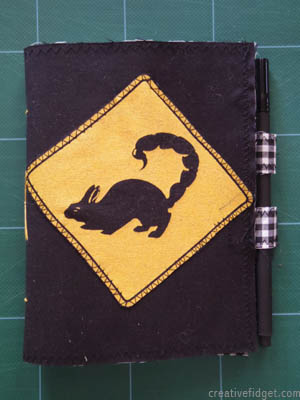
Yonks ago, when I was on my bookbinding thing, I made a cover out of stiffened fabric but never got around to binding in some pages as I thought it was a bit boring. In the meantime I cut a design off a favourite tshirt thinking I’d applique it to something. The two were destined to meet. That just left the binding.

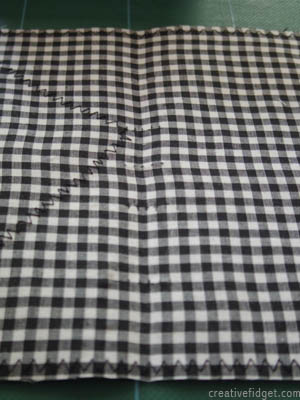
I grabbed some yellow embroidery thread and got stitching. The gingham lining made marking up the holes easy:

The pages had been torn out of an old cartridge paper sketch pad.

I wish the diamond and spine stitching had lined up better, but the binding does need to be centred for stability. Otherwise I’m pretty happy with it.

It’ll probably become a brainstorming notebook, once my current one is full.

The Photo Album Project

This trip to Japan we did over Christmas was 100% holiday, which is, I suspect, why we launched into sorting photos as soon as we got home while photos from the half-work-half-holiday trips to Europe have languished in forgotten directories of the computer. And it’s probably that we were in Japan for eight days, not several weeks. Not long enough to be a little bit sick of the subject.

Another reason we have a bit of a backlog of trip albums is because the last few none were straightforward.

New Zealand 2012
It was a short trip and while we took some photos that would be nice to have printed, there’s really not enough for a full album.

European Tour 2011
I’ve not been able to decide whether to combine or separate the photos from book events and holiday snaps. Also, since we snatched a few days for looking around wherever the tour took us, it’s mostly big batches of photos in cities dotted around Europe, with lots of photos of things in museums and galleries that I took mostly as reference shots.

Mini Tour 2013
Ditto – except this time we spent ten days driving around the south of England so the non-work pics are mostly of that time.

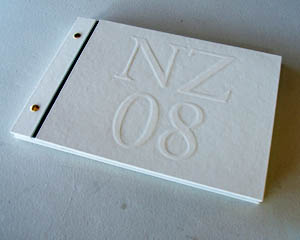
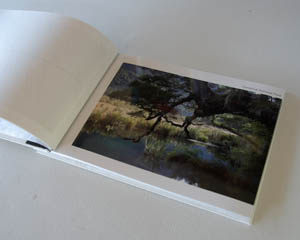
Getting all these albums sorted was going to be a big project, so I’ve broken it down into smaller tasks, starting with a small one: the New Zealand photos. I decided to simply add some pages to the end of the album I did for our 2008 trip.


Which works except for that big “08” on the cover. Maybe I’ll make a new cover.

I love that this album can be added to so easily – which gave me an idea that could sort out our album situation not just now, but in the future.

Why not have one album for each region or country rather than each trip, and then keep adding to them? I’m bound to do more of these work trips to Europe for work and I’ll just insert more pages in the album each time. We considered the Japan trip a ‘taster’ and intend to go back in a few years so we can add more photos to that one when we do. This also gives me a reason to print all the nice photos from the short holidays and day trips we’ve done locally: they can go in an ‘Australia’ album.

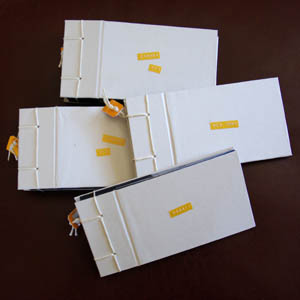
However, what I don’t like about the New Zealand album is that on the pages that contain several small photos I have to mix and match pics. Large pages cost more to print so if I have one photo that won’t fit or doesn’t match the rest I leave it out, even if it’s a good one. One photo per page makes the selection easier as nothing needs to match. Like in these albums I made for our Canada trip:

Which are great for when you’re showing people the photos, as four separate albums means four people can be looking at the same time.

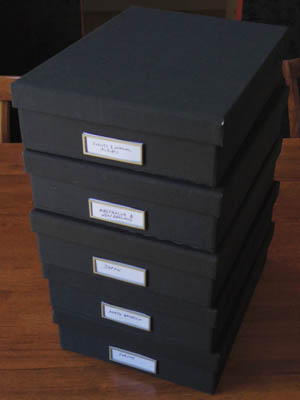
To keep them together, the Canada albums live in a box. The New Zealand album has one, too, which gives me somewhere to put the bits and pieces I collect – brochures, tickets, etc. That led to me hitting on an even better solution: a box per country or region.

Now I have the best of both systems. I’m going to make A5 albums with one photo per page (two fit snugly side by side in the box) that I can keep adding to, and keep everything to do with trips to that country or region in one box, including my trip diary.

I got the pages printed for the New Zealand trip and added them to the album before I thought of this idea, so that album will stay in the large format. The rest will be smaller. I’m going to tackle the Japan album next as the pic selection is nearly done. I have a Photoshop template ready, I just need to figure out what to make the cover out of. Something flexible that doesn’t need glueing, as book cloth is a faff to work with and anything glued needs to spend ages being pressed while drying.

Hobbit Doormat

So the day after my Silhouette Portrait arrived I set it to work cutting a stencil for me. You see, Dad requested the first of The Hobbit films for Christmas and that gave me an idea for a handmade gift.

Having done my research on paper cutters, I knew that the cutting mat tends to be too sticky when first used. I did a test run with normal office paper and it stuck so firmly I had to scrape it off. I then followed the suggestion of patting an old tshirt over it to deposit some lint. It still gripped overly firmly, but the paper I switched to for the stencils was glossy and resisted the stickiness better.

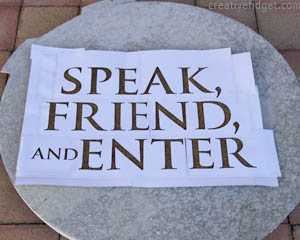
The words on the stencil needed to be quite large, so I had to cut seven pieces of paper and tile them together. Once I had my stencil assembled, I took it outside…

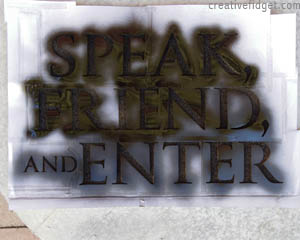
… got spraying with black spray paint…

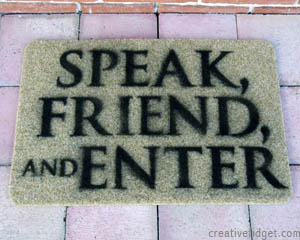
… to add a famous The Hobbit quote to a doormat to go outside Dad’s hobby room:

New Gadget

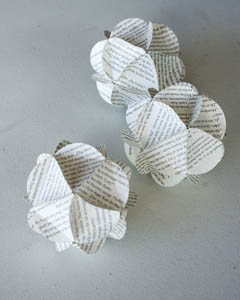
Remember these?

Okay, I made them a long time ago. Kerri, a friend and fellow Craft Day attendee, has long admired them and expressed a wish to make some (or for me to make her some). So a few weeks ago I took a couple of circle punches to her place and she, her daughters and I made a few. I think she is now addicted, and wants her own circle punch. I told her to get a 2″ inch one.

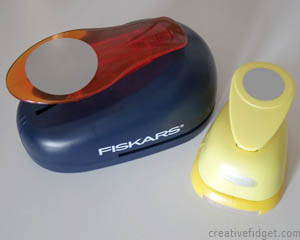
Why? Well, the 2″ circle cutter I used for the original paper balls was the scissor kind, with blue handles. It didn’t make a smooth, complete cut and eventually went blunt. No amount of cutting fine sandpaper or using a sharpening stone revived it. I wasn’t able to find a replacement. Instead I bought 1 1/2″ and 2 1/2″ circle punches.

The 1 1/2″ punch makes circles that are a bit too fiddly to glue together and the 2 1/2″ punch makes balls that are a bit too large and need stiff paper to feel rigid enough. The 2″ cutter was juuuust right.

Yes, I am the Goldilocks of circle punches.

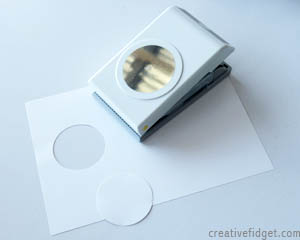
After our paper ball making session and another fruitless search of local craft shops I decided to buy one online. I found this at CraftOnline.com.au:

It is the most solid, clean-cutting circle punch I’ve bought so far, and for a good price. Of course, the peril with online shopping where postage is free when you spend over a certain amount is you go hunting for other things to buy. That’s when I stumbled upon this:

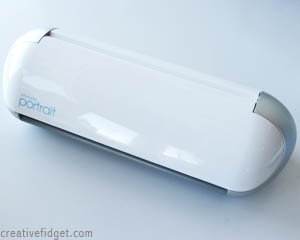
Well actually, it was a bit more complicated than that. I saw a different machine on the website and got excited by the idea of cutting circles at any size I wanted. So then began many hours research on paper cutting machines, reading product reviews and watching YouTube demonstrations, and searching for retailers in Australia.

Not all paper cutters are created equally, that’s for sure. Most lock you into buying cartridges with shapes and fonts pre-designed by the manufacturer. 😛 to that. I’d already seen a model on Alisa Burke’s website, which included a scanner so you could draw your own shapes, scan them and it will convert the file into a design.

But then I stumbled on the Silhouette Cameo, which came with a program that allowed you to import and alter images as well as use shapes from their library – and use any font you have on your computer. I got to wondering if CraftOnline stocked it. Yes, it did! And not only that, but it had a smaller, cuter sibling called the Portrait with all the features of the Cameo, but can’t be operated without a computer. It still could take A4 sheets, so I couldn’t see much sacrifice in getting a smaller machine. It also happened to be on special…

But it was out of stock, but the site promised ‘new stock arriving soon’. Every few days I checked to see if they’d arrived and soon I had one in my eager crafty hands. And the next day I made my first project with it.

It’s a perfectly sensible gadget to have when you have RSI, right? Right?

Don’t Mention the ‘C’ Word

I’m in denial. That yearly event that happens in a month’s time each year is fast approaching and I’ve got my hands over my ears and I’m singing ‘lalalalala’.

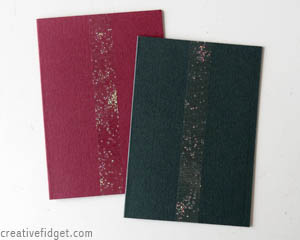
Well, not really. I’ve managed to buy two of three presents, book a lunch, and make cards. For the latter I wanted something fast and simple. I’m rather chuffed with what I came up with.

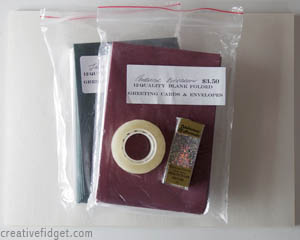
Materials: card blanks, clear tape, glitter, plain paper, glue tape.

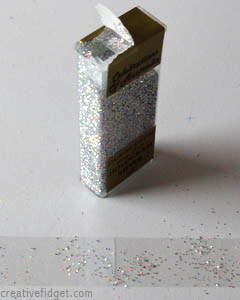
The hardest part was getting the tape to sit sticky side up on the table. On went a light dusting of glitter.

The tape was then positioned and rubbed down on to the front of the cards, and the ends trimmed.

And then I used glue tape to attach plain paper inserts to write on, and metallic pens to write a quick, all-purpose ‘Best Wishes’.

I just have to get around to filling in and sending them.

2012: Craft

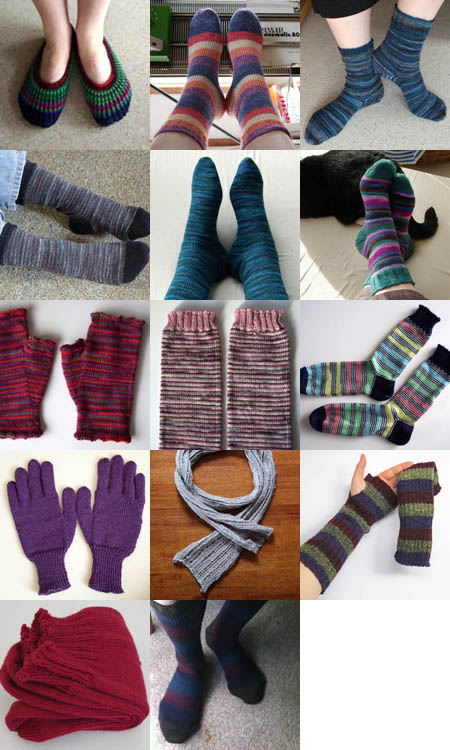
The machine knitting:

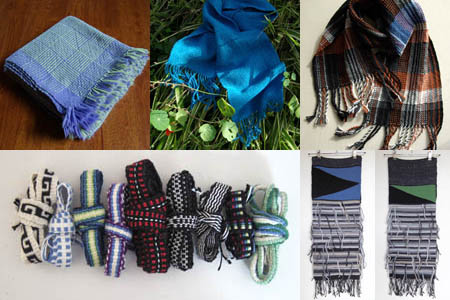
Not as much weaving compared to previous years, but a lot of time went into inkle weaving:

I also didn’t do as many home decorating projects as usual, just a bit of macrame and a garden seat:

But I did make a LOT of jewellery:

(Some of the jewellery I made during the year is missing, as I decided I didn’t like it and returned the parts to my jewellery-making box.)

I also made some paper beads:

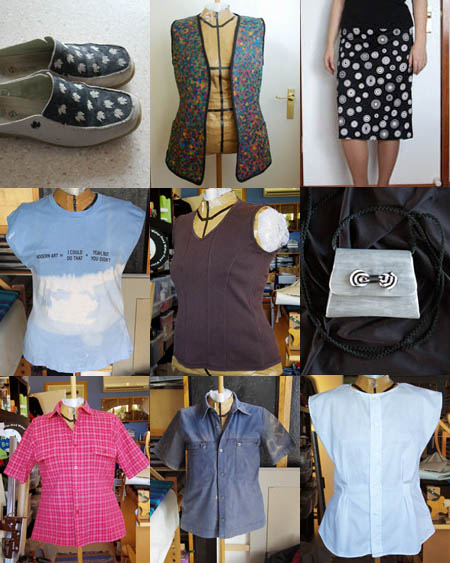
And I had my usual bout of the refashioning bug in Spring:

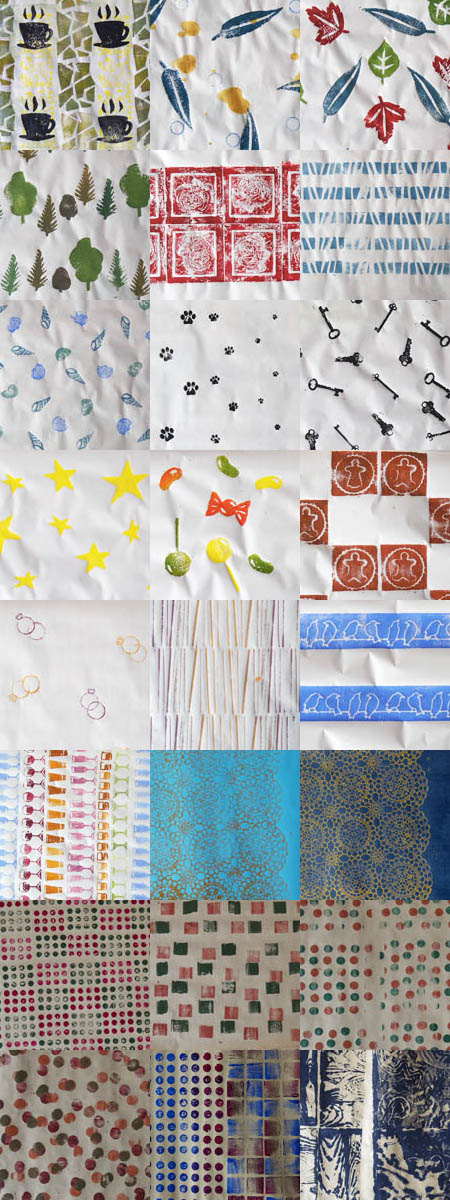
During Blogtoberfest I revived a stamp making hobby and made lots of wrapping paper:

And, of course, I made Christmas cards:

It’s Beginning to Feel a Lot Like…

I’m not sure I’ll bother with cards next year. I enjoyed making these, and that I used materials I already had, including some tracing paper I’d been hanging onto for over 20 years and the pages of a book I’d taken the cover from to make a handbag. People I’ve given them to in person have complimented me on them.

But it seems like nobody really sends Christmas cards any more, except to friends and family living far away. It’s interesting, because I have friends who send thank you, congratulations and get well soon cards but don’t send cards at Christmas. The ones they do send are so much more genuine and touching, because they’re not sent out of obligation.

And to be honest, I’m not that into Christmas. Which is why I make my cards fairly non-Christmassy. The end of the year card exchanging motivates me to make something (other than fattening baked goods) but maybe I’m better off putting that energy into something else. Something people will get more enjoyment out of.

Hmm. I’ll have to think more on that one.

Wrapping Paper: Batch #2

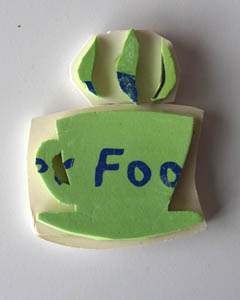
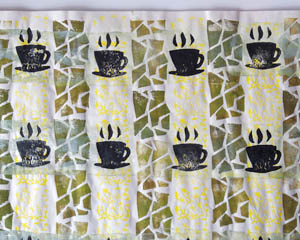
Once again, I started with a sheet of wrapping paper from the original batch that was a bit of a dud, and overprinted with a coffee cup stamp I’d made back then, but never used:
Don’t ask me how, but the addition of black cups was all it took to fixed the dudness. I guess that as a pattern it was pretty boring, but as a background it worked better.
Since I had black ink on the tile, I tried the paw print stamps next:
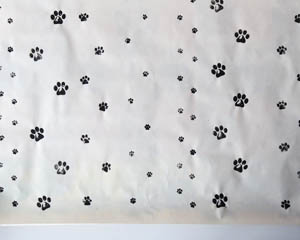
I learned at this point that the silicone stamps only stick to a smooth, glossy surface, reinforcing my suction cup theory. One of them kept falling off the lid, and when I had a closer look the only difference I could see was the slightly matt surface. Also, the silicone surface of the stamps tended to repel the ink a little, so I’m wondering if these work better with ink pads.

I tried the keys:
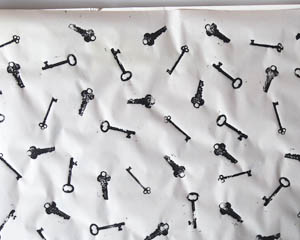
They worked just fine. Time for some colour. I used these old star stamps next:
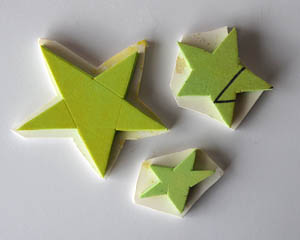
To make more of the star paper from the original batch, that was so versatile:

Then I mixed in some red and blue to the edges of the yellow for the lolly stamps:
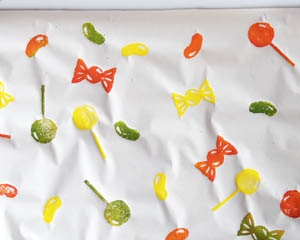
So… yes, foam core can be used for stamps, but I wouldn’t recommend it. The backing quickly fell off on the first use, they felt fragile and awkward. I like the shapes so I’m going to make these again with foam.

And then I mixed the colours together and added more to make a gingerbread colour for the meat tray stamps:
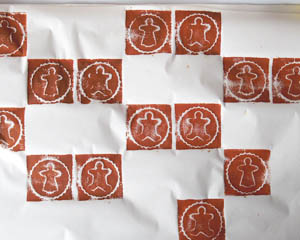
I really didn’t expect them to work, but they did. Surprisingly well. I’ll definitely be recycling any meat trays that come our way in the future.

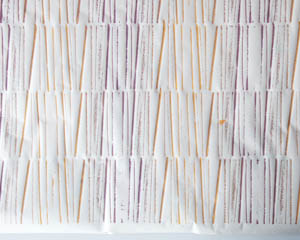
After that I washed off the tile and mixed some new ink to use with the elastic band stamp, blending them to make a graduated colour scheme:
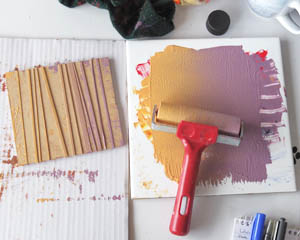
Again, the result was another pleasant surprise – a non-dud-ish pattern:
I then used up more of the colour with my bottle top wedding ring and diamond stamps:
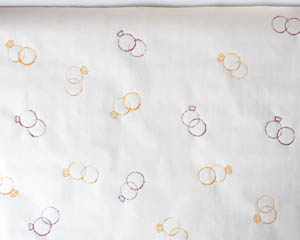
Gave that one a big tick. At this point only a few sheets of paper were left but I had only a couple more stamps to try. I didn’t expect the next stamp to work that well:
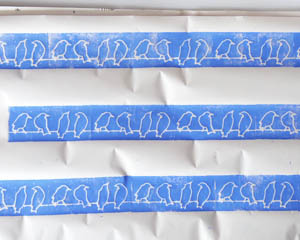
Turns out that while foam core isn’t great to cut into shapes, drawing into it works quite well.

That left the cups and glasses stamps. For the final sheet I added some red to the leftover blue ink to get a bugundy colour for the wine glasses, then white to half of that for pink sparkling, then yellow to the other half for beer and whisky, then… you get the picture, until I had the whole sheet covered. An old eraser from the end of a pencil gave me lime wedges, and the last sheet was done:
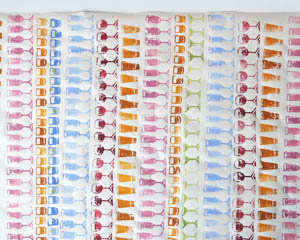
It was the most time-consuming of the wrapping paper sheets, but looks great.

Normally I try to print two sheets of each design, because one sheet never seems to be enough. The only double in this batch was the stars, because I had so many stamps to try. In the last batch I did have a few single sheets where I was using up excess ink or it was a mixed colour and I didn’t have enough for two sheets. I could mix up more colour, but the time it takes to match the colour isn’t worth it for an extra sheet.

I’m all out of crappy newsprint now. I could buy more, but I have a great stack of multi-purpose paper I can use and various other batches of paper I’ve saved over the years – like some newsprint-like paper that came with some ikea furniture, and some brown packing paper. On Monday I popped down to Zart Art and, along with more carving blocks, and some fabric dye, bought an assortment of A2 size coloured paper. It’s a bit thick for wrapping paper, but I could make gift bags out of it – always good for people like us who tend to forget to buy a present until the last moment… or on the way to the event.
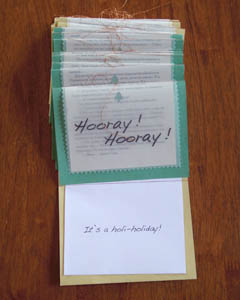
I’d like to try using the stamps to make cards, too. One thing I have more than enough of is sheets of cheap coloured A4 paper.