During my fabric, pattern and habby cull, I got to thinking about how different my attitude to fabric stash is to yarn stash. With sewing, I have a limited time I can spend on the machine before my back complains, so I don’t waste it on making items I don’t want or aren’t fun to make.My fabric collection isn’t overly large. It fits in four plastic filing boxes and one tub.
With weaving, I often make things I don’t particularly want to keep in order to use up stash or learn something new. The weaving yarn stash is seven or eight times larger than the fabric stash. Which is sobering, but not unexpected. It’s been my main hobby for quite a few years now, and until recently I was on quite a learning drive.
I’d like to weave with the same attitude as sewing, so having a weaving yarn stash as practical as the sewing stash appeals. However, to get to that point I’d have to cull quite a bit of yarn. The thought was rather intimidating, but on a free day recently, I girded my loins and got stuck in. What I found surprised me.
Since it was a large task, I broke it into smaller ones. My cones of yarn are stored separately to the skein, ball and hanks, and I left them for another time.
Out: a few cones I knew I’d never weave.
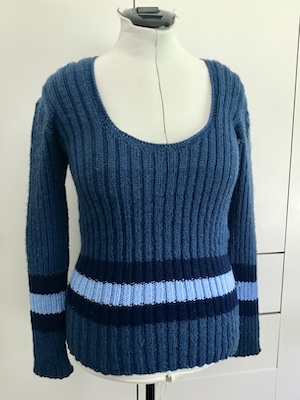
The balls, skeins and hanks of yarn made up about half the yarn. I was surprised to find they were mostly knitting and crochet yarn. Not that I don’t weave knitting yarn, just not as often these day. Some is intended for machine knitting projects, so it turns out this is also a machine knitting stash. And possibly hand knitting and crocheting, but I’ll get to that later.
Out: a bag of yarn I wasn’t keen on.
Below the knitting yarns were eight tubs of fabric for rag rugs. Am I going to weave more rag rugs? Probably not. While I like rag rugs, the oldest ones I have I made 13 years ago, and I plan to replace them with the flannelette ones I have in storage.
Out: ALL of the fabric for weaving.
When I’d estimated the amount of weaving yarn I had, I was waaaay out, because I forgot the wool rug stash.
Yikes.
Out: about half of it.
Having decided that this was also a machine knitting stash, I moved the circular knitting machines in from the craft room. In order to do that I had to move the embroidery and macramé yarn stash. You know what happened next.
Out: er, nothing. I meant to get rid of most of it, but there’s now plenty of room on the yarn stash shelves and I have a few ideas I’d like to try. At least removing it from the same cupboard as the sewing supplies gives me a some room for all that ex-fabric-for-weaving, which may become quilts and chair covers.
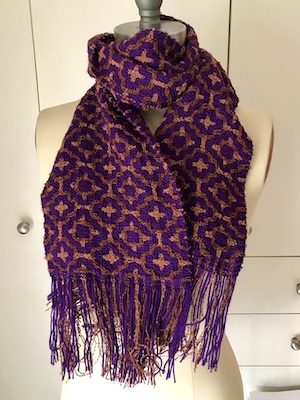
I’ve come up with a couple of crochet projects for the knitting yarn, too. All things I want and will be fun to make. Next time I have the urge to downsize, the cone yarns will be in the firing line. Hopefully before the next Guild bazaar.