
The housewarming we had a few weeks back gave us the push we needed to tackle more artwork hanging. We’ve now used most of the methods I covered in this post about avoiding putting nail holes in walls: this post.
Shelf:
The wall shelf is from IKEA. I’m not 100% happy with it. For a start, our level was not level so the shelf is slightly off straight. And it’s too shallow to safely overlap artwork of this size, which I was hoping to do here. But I’m planning to repaint this room in a few years, so this is only temporary anyway.
Top of a bookcase:
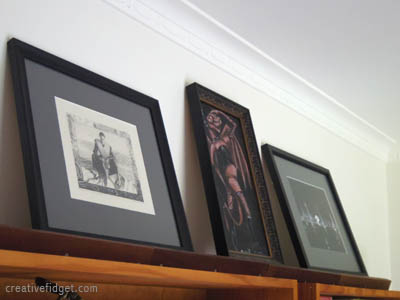
You can just see that I have wooden picture supports, that Paul made, to ensure these don’t slip off.
Picture rails:
We decided against installing any, as combined with the dado rail it would be a bit too busy.
Picture hanging system:
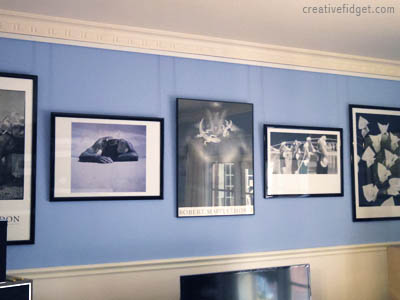
This was the main pre-housewarming project. It’s not cheap, but the versatility of the system makes it worthwhile. We can put artwork anywhere along the walls, and put two or three pieces on each set of wires. It’s not so good for clusters of small artwork, however, but…
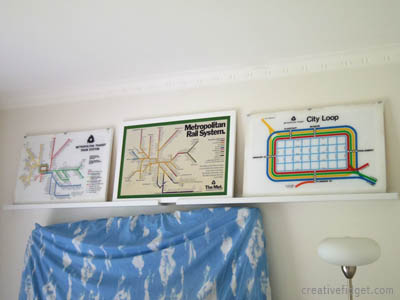
Removable plastic hooks:
I’ve used these all over the house:
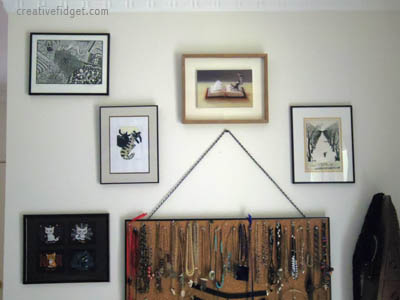
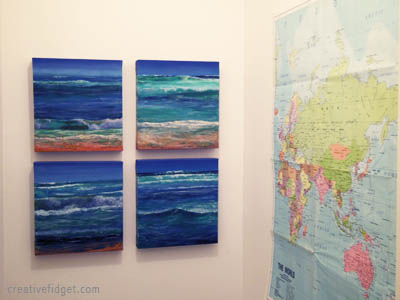
The cat art wall is a work in progress. As we get more I’m adding them to the wall. And the map and paintings below are in the toilet, ’cause why not?
And the hooks are great for more than artwork:
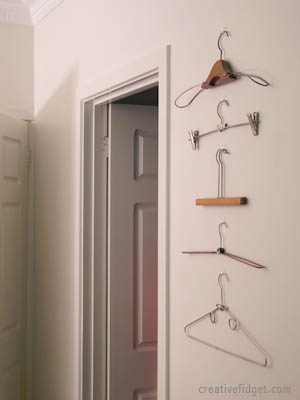
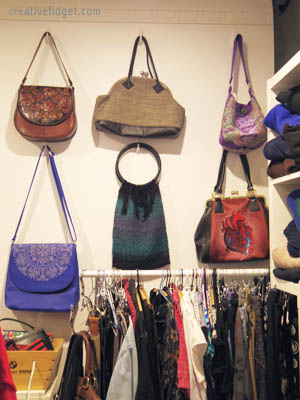
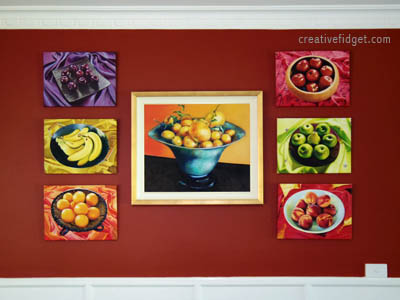
The clear ones are practically invisible from a distance, so much nicer for items where the hook shows, like with the old traveller’s coat hangers above. And you can get removable velcro strips, which I used to hang the map in the toilet. However, the paint in the kitchen did not like the removable hooks, and even very light pictures like the small fruit ones below kept falling off so I had to use hooks.
Display easel:
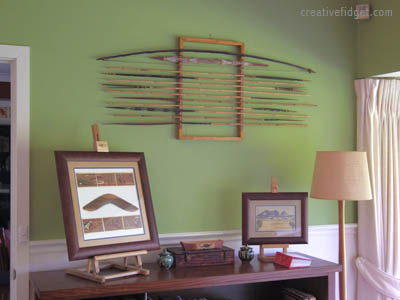
I was hoping to get all of this related artwork on the wall, but there just wan’t room, and the odd sizes weren’t coming together in a balanced arrangement. I had a few pieces leaning against the wall while I was working this out, and realised they looked good like that. So I dug out a display and table easel. It’s another way to overlap artwork.
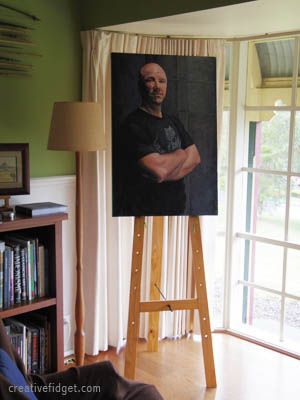
This is where I’m displaying finished portraits until their owners claim them.
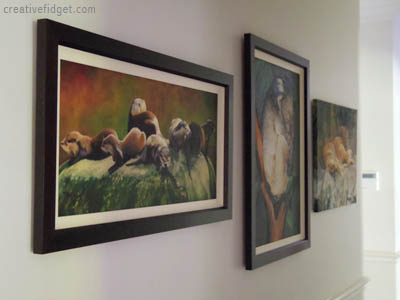
So I’ve utilised nearly every hanging option I thought of last year. We’ve still used nails for mirrors, clocks and heavier artwork where there’s no hanging system, and I’ve reused existing holes as much as possible, like in the passageway:
There are still more pieces to go up – we have a dodgy shelf to remove in another room which will free up some more wall space – but most of it is hanging now. Funny thing is, after filling the living room and hallway walls, along with having the housewarming, I feel like we have finally settled in to this house.
Looks great! I use the removable hooks too. In my kitchen it’s harder to make them stick because of all the cooking (oils in the air, steam, etc. I cook a lot.) I’ve found that when I clean the area that I’m going to stick the sticky pad to with a little rubbing alcohol first it really gets all the kitchen gunk off that spot. Then I stick the pad to the wall by it’s self, before I ever stick it to the slide portion of the hook. I really apply as much pressure as I can. Then let it just hang out, without anything on it, then after a little while I’ll put the slide portion on, and press it again, and let it hang out…. Then I put the hook on, and if I’m in a hurry I’ll hang the picture. Mostly, I just let it become one with the wall first before I put the weight of the picture on it. I love the Velcro method, especially for things that are valuable and would be a huge loss if they crashed to the floor. I use a bunch on those things.