
For my second mosaic sphere, I initially wanted to do one in black and white, with six spirals connected in pairs. But while browsing through the results of “mosaic sphere gazing ball” on Google Images I saw a sphere that was one continuous spiral using two rows of tiles:
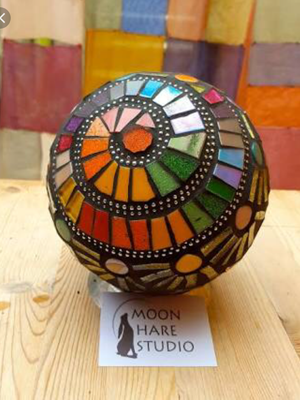
I realised that this would require no measuring up. All I’d need to do was start the spiral and each row of tiles would sit next the last, until they reached the opposite end I’d started on. Easy peasy.
My intention is to use up leftover tiles on spheres. The only kind I had enough of for this design were the glossy black glass ‘mosaic’ tiles left over from our bathroom renovation. When I found I could easily cut these in half at an angle with my glass cutter, I knew they were the right choice for this project. For the narrow row of tiles, I decided to use the larger batch of millefiori I’d bought not long after I’d done the mosaic class because they were pretty, without any idea what I’d use them for. So far I’ve only used a dozen or so millefiori, and mostly ones I’d bought later because they were star shapes. This looked like a good way to use a larger quantity.
So I began with a black droplet, then cut one black tile in half and stuck it down. I worked backwards to taper the tiles back to the droplet, then I got the smallest millefiori and glued it at the opposite point to the tile starting place.
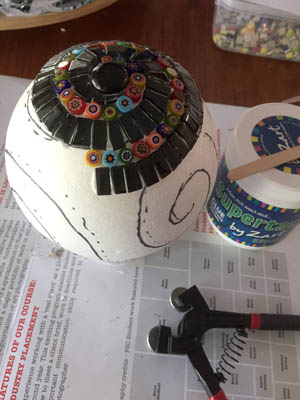
From there it was a matter of swapping from millefiori to black tiles and back again, going around and around. But because of the curved surface, I had to do it in batches or the tiles might move or fall off. Later, Barbara from my art class, who also does mosaics, suggested I stick dressmaking pins in to hold the tiles in place, which allowed me to do more each time.
However, when I reached the middle, I ran out of millefiori.
A hunt for more started. I thought I’d bought them from Bunnings, or Zart Art. But both had a different kind of millefiori in stock – all opaque wheras mine were transparent. I was fairly sure the brand I’d bought was Mandala, so I called them and it turned out that yes, they’d recently changed their millefiori as the transparent ones were more prone to breakage.
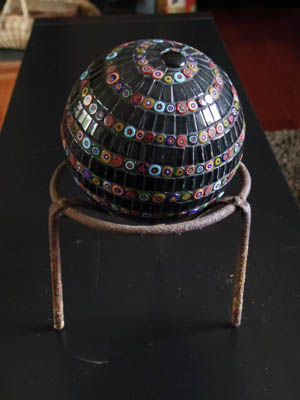
Fortunately they still had two packs of the old style ones, so I bought those. When they arrived I got back to work. A few more rounds and I was able to ditch the pins, as all the tiles were now resting on the previous ones, and I got the last 25% done in one sitting.
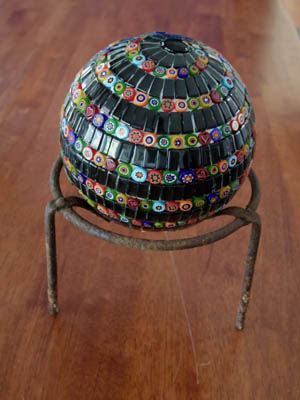
After letting it dry for a few days, I grouted it with black grout.
I bought a few more polystyrene balls when I went looking for more millefiori at Zart Art, but the vague idea I have for the next one might require me buying more tiles. And now that the weather has warmed up enough to spend time in the garage I’d like to get back to the swimmers clock. And then there’s the ventilation floor patches to do in the kitchen. And I’ve bought enough tiny ceramic tiles to do a matching wave pattern frieze around the bathroom. And I have a large bowl I want to do as well…