Tidy Up

I’m loving how spacious my workroom feels now, and it seems to have inspired me to do some crafting (pics later).

Here’s the corner of the workroom where the day bed used to be:
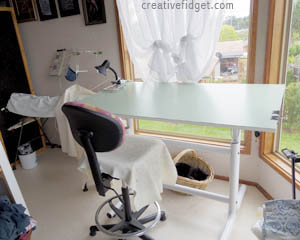
As you can see, it’s bright and airy. The cat has accepted a basket as a replacement for the day bed, which is now downstairs in the lounge.

I’ve come to the conclusion that shifting things from the edges of the room to the centre back in 2012 was a mistake. It felt too cluttered, even if it did mean I could fit more into the room. This is the plan I drew up during that reshuffle:
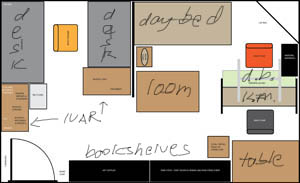
Looks good in 2D, not so good in 3D.

Discovering that the drawing board converts to a table also makes me very happy. It’ll get much more use like this, and I can always swivel it into a vertical position if I want to draw.

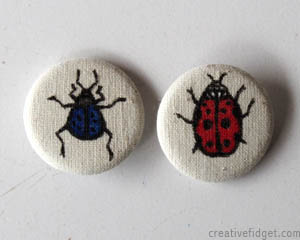
I’d left a few unfinished projects scattered over my old wooden table when I went overseas so I’ve been tackling a few of them (or deciding they weren’t such a great idea after all – time away can give you a fresh perspective). I used fabric pens to draw on two buttons I made when testing if I could make badges with fabric:
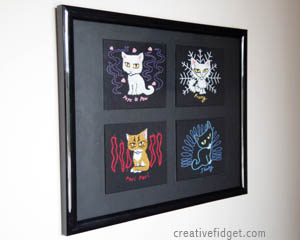
And I framed the cat embroideries:
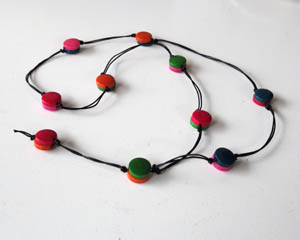
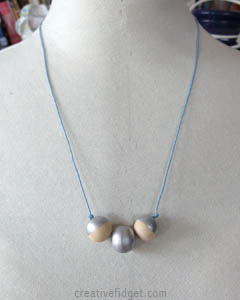
I also used up some more wooden beads to make this simple necklace:
And I sit and stitch of an evening, when I’m not nodding off thanks to the lingering weariness from a very busy month overseas.

Jewellery FOs

Most of the to-do list items that I was able to put in the TV Craft list were jewellery projects. Tackling them in the evenings meant I got through them in a few days, so fast I wondered why I hadn’t thought of this before. I guess I really was in a ‘meh craft’ mood these last six weeks.

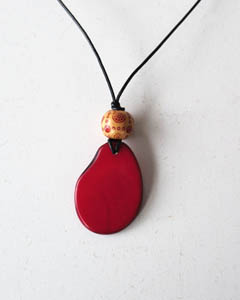
Back when ordering some jewellery findings online during that last big jewellery making obsession I saw some interesting beads on sale. Tagua nuts, also known as ‘vegetable ivory’, come from a species of palm and, when dried, resemble elephant ivory. I loved the bright colours and the organic shapes, and I was intrigued, so a pack went into my cart.

There were five flat beads. I made one into a simple necklace:

I have plans for combining others with silver clay shapes, so they’ll need to wait for Jewellery Day.

The flat beads came with several small round ones in the same colours. I wasn’t as keen on them, mostly because the backs are flatter and obviously the ‘wrong’ side on a bead you can’t easily prevent flipping over. It took me a while to come up with a design that got around that. the answer: put them back to back:

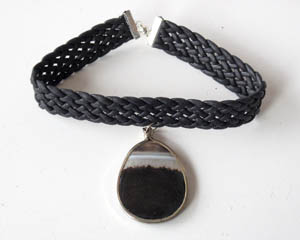
I’d picked up the parts for the next project at the recent Quilt and Craft Show, and it was just a matter of assembling it:

The inspiration was actually the leather strap, meant for bag handles, but I figured it would need a large pendant to stop it looking too much like a collar. The gemstone caught my eye, transparent at the top and opaque below, with greys between.

Two other projects on my to-do list were scratched. One was to turn some pieces of chain maille (long story) into new jewellery, but I found the rings too tough on my hands to bend open and closed.

Another two just needed some superglue, including this bracelet:

Yeah, that’s the one I wove with one side of the clasp the wrong way around. I had to cut the rings on the clasp and carefully thread the stings onto a needle, turn the needle around and transfer them on again. The thread is so fine it gets caught in the breaks in the rings. Hopefully the glue will stop them slipping out.

The only item left for Jewellery Day is to try silver clay. Which will happen in two stages: one for shaping clay, another for firing once it’s dry, then polishing it and assembling pieces.

Superhero Accessory

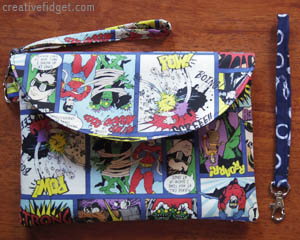
Once I decided I needed a Golden Age of Comics accessory, I immediately thought of my friend Margaret, who makes fabulous bags and jewellery – some with movie themes. I contacted her to see if she had anything already made. She didn’t, but she did have some fabric with a Superhero theme and made me this awesome clutch:

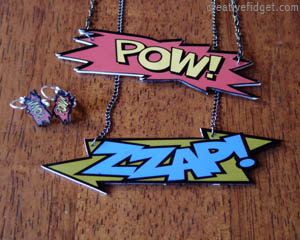
I also sent her a link to some great non-character-specific comic themed jewellery. There wasn’t time to commission any, and Margaret was keen to try making something similar using Shrinky Dink plastic. I created the ‘ZZAP!’ design and sent it to her, and she came up with the rest. A few jewellery findings later and we had this:

I’m all set for some heroic partying!

Teev Jewellery

I’ve put a ban on jewellery-making. What started out as a bit of fixing, finishing and refashioning turned into (mostly thanks to Pinterest) a bit of a mini obsession. My jewellery hanging boards and hooks are getting crowded and I’m beginning to wonder when I’ll find the opportunity to wear it all.

The trouble is, I discovered that I could whip up a new piece of an evening while watching tv, which is why knitting was such an easy hobby to get addicted to. I’ve put a box of interesting objects to draw and a sketchbook there instead, or else I turn off the tv and get some reading done.

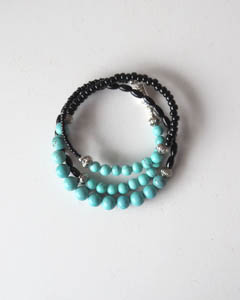
Here are the last pieces I made. First, a turquoise and black necklace with a magnet closure:

Designed to be the right length to turn into a bracelet:

And I’d been wondering what to do with these droplet beads until I saw this lovely necklace on Pinterest:

I had enough chain and beads to make a bracelet to match.

The ban is only temporary. Paul and my parents bought me, on request, a silver metal clay kit for Christmas. But since the firing requires a dark but well ventilated room, the only safe place is the garage, which at this time of year is likely to be uncomfortably hot. So I’m saving that for autumn and cooler weather. In the meantime I can plan and read up on it, which is a good idea since the silver clay is VERY expensive.
2012: Craft

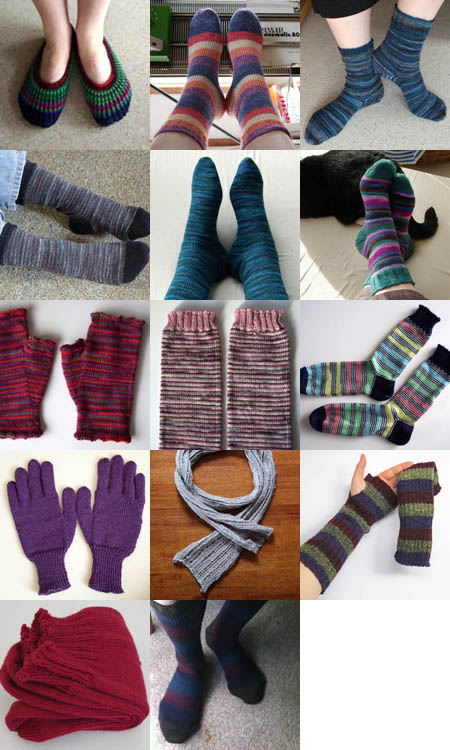
The machine knitting:

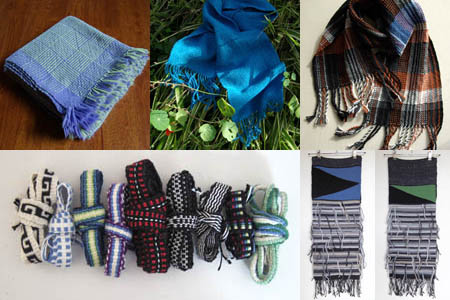
Not as much weaving compared to previous years, but a lot of time went into inkle weaving:

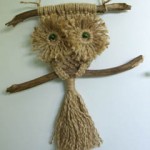
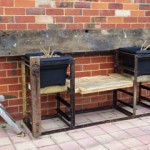
I also didn’t do as many home decorating projects as usual, just a bit of macrame and a garden seat:

But I did make a LOT of jewellery:

(Some of the jewellery I made during the year is missing, as I decided I didn’t like it and returned the parts to my jewellery-making box.)

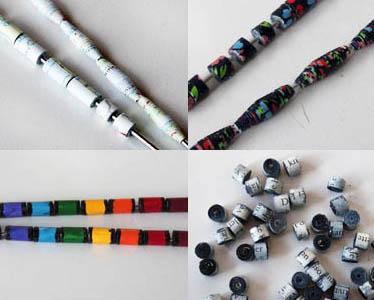
I also made some paper beads:

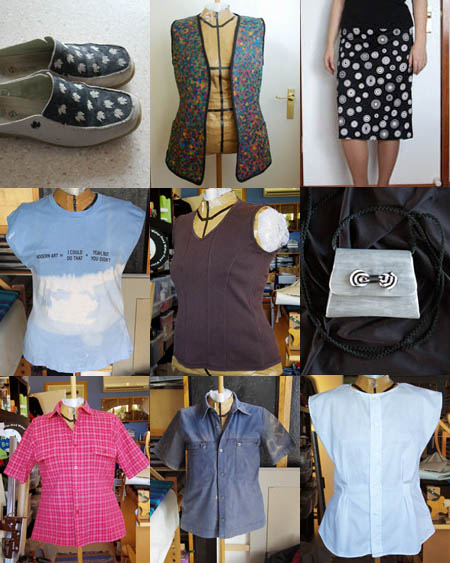
And I had my usual bout of the refashioning bug in Spring:

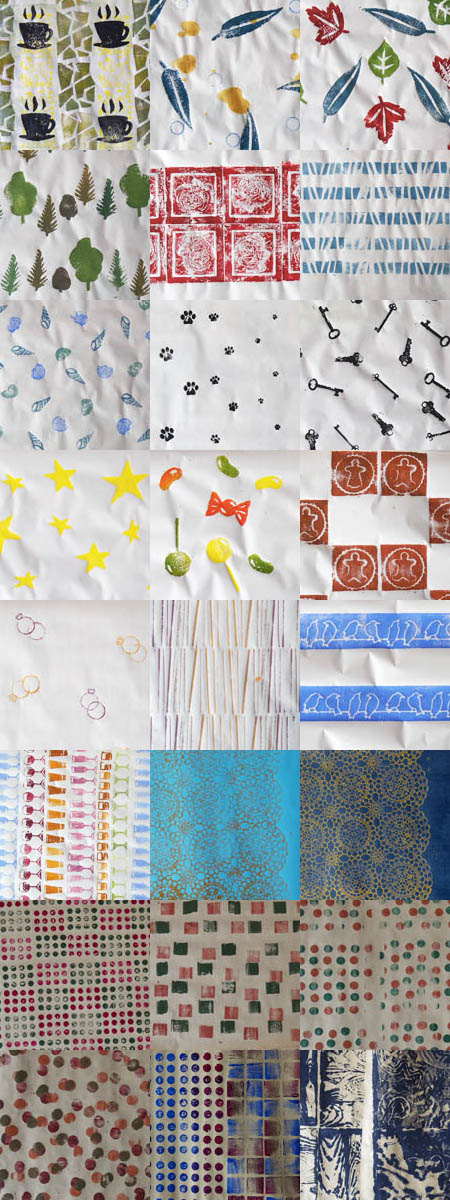
During Blogtoberfest I revived a stamp making hobby and made lots of wrapping paper:

And, of course, I made Christmas cards:

Re-dos

Recently I remade a few pieces of jewellery.

I really liked this bracelet, but the crimps holding the beads in place were scratchy and I’d nearly lost it when the clasp failed.

It became this:

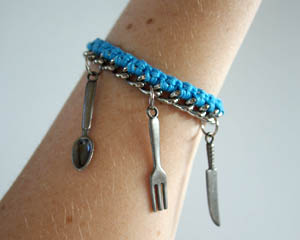
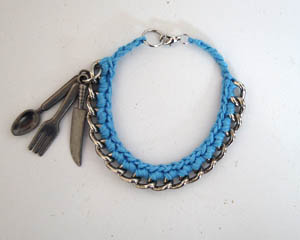
The problem with this bracelet was that the weight of the charms pulled them and the chain around to the underside so all you saw was the button clasp:

So I moved the charms to hang from beneath my wrist, and replaced the button with something lighter:

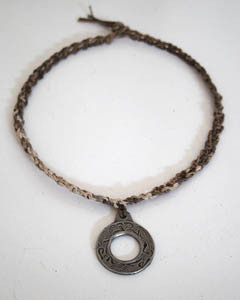
I’ve had this lion pendant for years. This is the third necklace I’ve made for it:
Yep, that’s macrame. I’ve been buying ebooks from Interweave, and this project came from Micro-Macrame Jewellery by Suzen Millodot. I’d bought the jute twine from a local Riot store and thought it would be a bit coarse and itchy, but it’s surprisingly comfortable. I’ve made a bracelet to match, but it’s just the macrame part – no dangly bits.
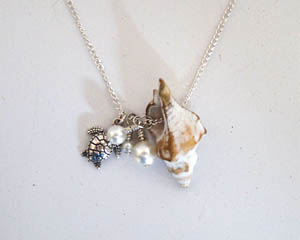
This necklace isn’t a redo. I tried a little wire wrapping on some fake pearls, then strung them up with a shell I’ve had for years and a sea turtle charm I bought at the Craft & Quilt show.

I’m rather fond of sea turtles. They eat jellyfish. I’m definitely NOT fond of jellyfish. Especially the stingy kind that put you in hospital. (Not recently.)

Finishing

Work has reached a point where I can’t start the next stage for a few weeks, so I’m catching up on a few other things and taking afternoons off. Paul has come down with a cold/flu thing, and my back would benefit from a rest.

I was hoping to get lots of craft done last weekend but my back being cranky and a bout of food poisoning scuttled those plans. But I did get some non-thinky jewellery projects done. Simple ones, or ones that just needed finishing.

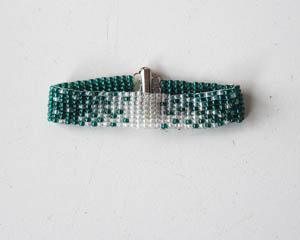
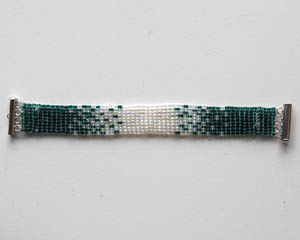
I’d got the beadweaving off the loom for this bracelet, but had only recently found a clasp for it. And glue to secure the threads. Beadalon glue. It’s scary stuff. Clear, so it’s impossible to see if you’ve got it anywhere it shouldn’t be. And as quick drying and strong as superglue.

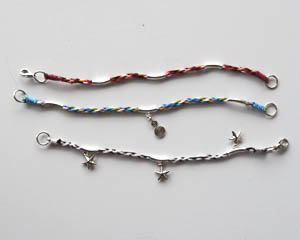
Inspired by Honestly…WTF’s Gold Tube Bracelets, I made use of the Kumihimo cords I’d made.

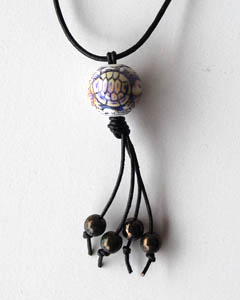
A ‘mood’ bead that somehow made it into my online shopping cart. What can I say. I like turtles. And… the bead changes colour!

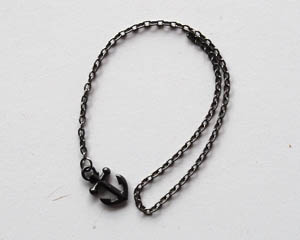
These anchor bracelets were all over Pinterest. Maybe I should call it the fashion victim bracelet. Or maybe quote this.

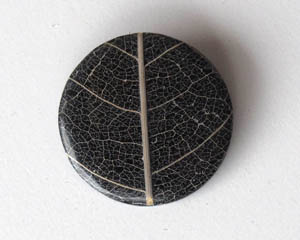
Dead simple. This caught my eye at the Craft & Quilt show. It wasn’t a bead, just a flat disc. So I stuck a brooch pin on the back.

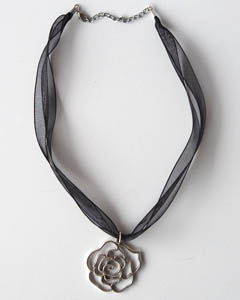
Rose pendant. Another thing I grabbed at the same show. I could have hung beads or something off it, but I like the simplicity of it unadorned. Ribbon chocker stolen from a pendant that just wasn’t getting worn.

I think I’ll wear that last one and the anchor this weekend. I’m off to Brisbane to sign books all weekend. I hope Paul is better before I go. Being alone and sick sucks. But he tends to recover from these things quickly. Me, however… I tend to get things three times worse and for ten times as long as him. I’m likely to catch it the day before I leave, end up flying with blocked ears and sinuses and spend the next two weekends high on cold meds. And then be the one who gave everyone else the flu.

But I can’t complain. I haven’t had a proper cold/flu for over a year and a quarter.

Paper Beads

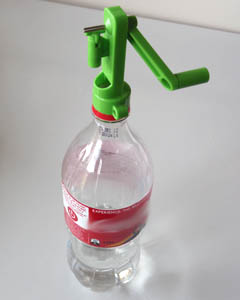
I’ve given the doovy a whirl. In fact, a couple of whirls. I can tell you, on its own this thing requires three hands: one to hold the doovy, one to turn the handle, and one to guide the paper strip so it rolls up straight. Fortunately, the designers got around this by making it possible to screw it onto the top of a plastic bottle. They suggest using an empty bottle and storing the beads inside – there’s a little hole you can feed them through – but I found the bottle needed weight for stability so I half filled it with water.

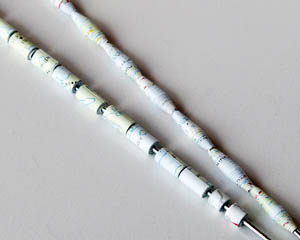
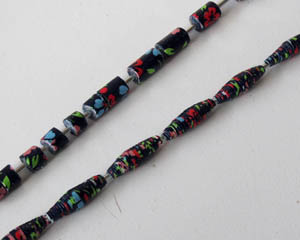
The first batches I made using maps from an old road atlas:

The straight beads were simple enough, though I wished for a guide to help the strip of paper stay straight. The lozenge shaped beads were slower as they had to be glued all along the strip of paper, and wound carefully so the point stayed roughly central.

Next I tried some Japanese paper:

I tried making longer straight beads and then cutting them shorter, to save time. The paper wasn’t as suited to this as the book page beads I worked on later, as it tended to tear a little at the centre. It’s also a bit of a waste of nice paper, as the only bit that’s visible in the end is the last few centimetres. I also found that what is so nice about Japanese paper – the design – was lost when wound into lozenge beads as you only see a tiny bit of the edge.

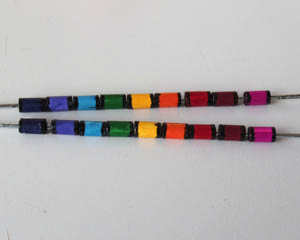
Next I tried coloured paper:

They were a little plain, though colourful, so I painted the ends with black nail polish then finished them with clear nail polish. I also made some double the length of these, that I’m thinking of drawing on with a permanent pen before varnishing.

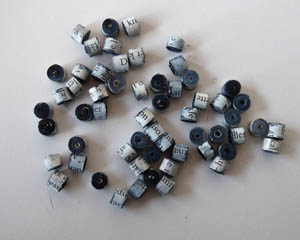
Lastly, I cut down a batch of book page beads I made previously into shorter beads and then used watercolour paint to give them a different look:

I rather like how they turned out. They’d also look great done in colour, I reckon.

So I now have a couple of batches of paper beads to try making into jewellery. I suspect that paper beads are best made by recycling paper, because if you want a coloured bead you may as well get an existing wooden bead and paint it, and nice paper like the Japanese paper I used is mostly wasted since the pattern is either obscured or only the last bit of the strip of paper is visible. Beads made of sheet music or magazine pages would work well. Perhaps even old comic book pages. I can see more paper bead making in my future, but it’s also made me want to find some beads I can paint or simply glue paper on to.

Of course, bead making may prove to be like spinning – just creates an even bigger stash to use up.

Beaded Cat Pendant

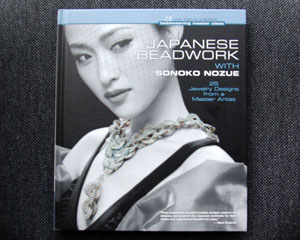
A while back I bought a ring at a craft fair, but the adjustable ring part wasn’t comfortable. So I cut off the ring part and figured I would eventually find another use for the top. Later I bought this book:

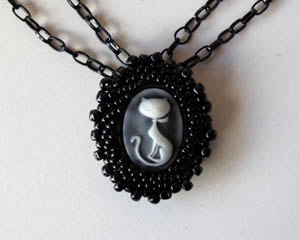
And I saw that the method of framing and encasing bezels within beads might work for the ring top. I had some black beads that would suit, so I got working. Unfortunately I forgot to take a pic of the ring before de-ringing it, so there’s no ‘before’ shot. But here’s the finished pendant:

It was a lot faster than the necklace I made from this book a few months ago. The method is really quite simple, starting from the centre front and using different sized beads to enlarge the circle then shrink around the back. The project in the book encircles a crystal bezel, so the back is the same shape as the front. I wanted to cover the back so I just kept adding rows of beads until the whole thing was encased.

The Arty Necklace – Linking

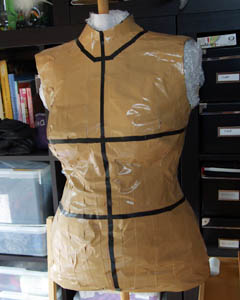
The other thing making me hesitate to tackle the art necklace was the thought that I might link all the frames together only to find that what worked on the table might not sit right on my body. Then I had a ‘duh’ moment. Why not work on my duct tape dress model?

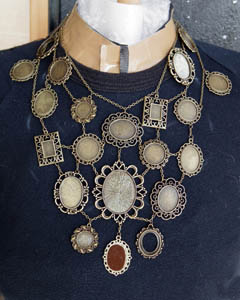
So I pinned them on, playing with the arrangement for some time before I had something I liked. Then I started linking them together using rings and short lengths of the chain. I did a LOT of tweaking. It took me about four hours, but eventually I was satisfied:

Now all I need to do is fill the frames. I’m planning to paint tiny little pictures.

This may take a while.